Monday morning, another snow day for my high school student and more rolling pin sessions for this intrepid baker. I messaged my friend Allison from our bakery for a last shot of courage and a few hours later, 16 croissants were born. The dough performed as promised and the kitchen boasted the perfume of browning butter. I watched them cool just long enough, selected one from the pan and uncoiled the layers, savoring my first bite. Eyes closed, the days of work validated, I recognized the danger of being snowed in with homemade croissants. I spread the cheer, inviting friends to stop by if they were un-stuck, then delivered two for Libby and Allison who responded, “Love the layers! And flavor -- the preferment adds some oomph. Good bold bake adds structure and flavor also. Big thumbs up!”
Let it snow! When the next blizzard threatens, I’ll be ready with my butter and flour, with rolling pin and courage intact. I hope you’ll join me.
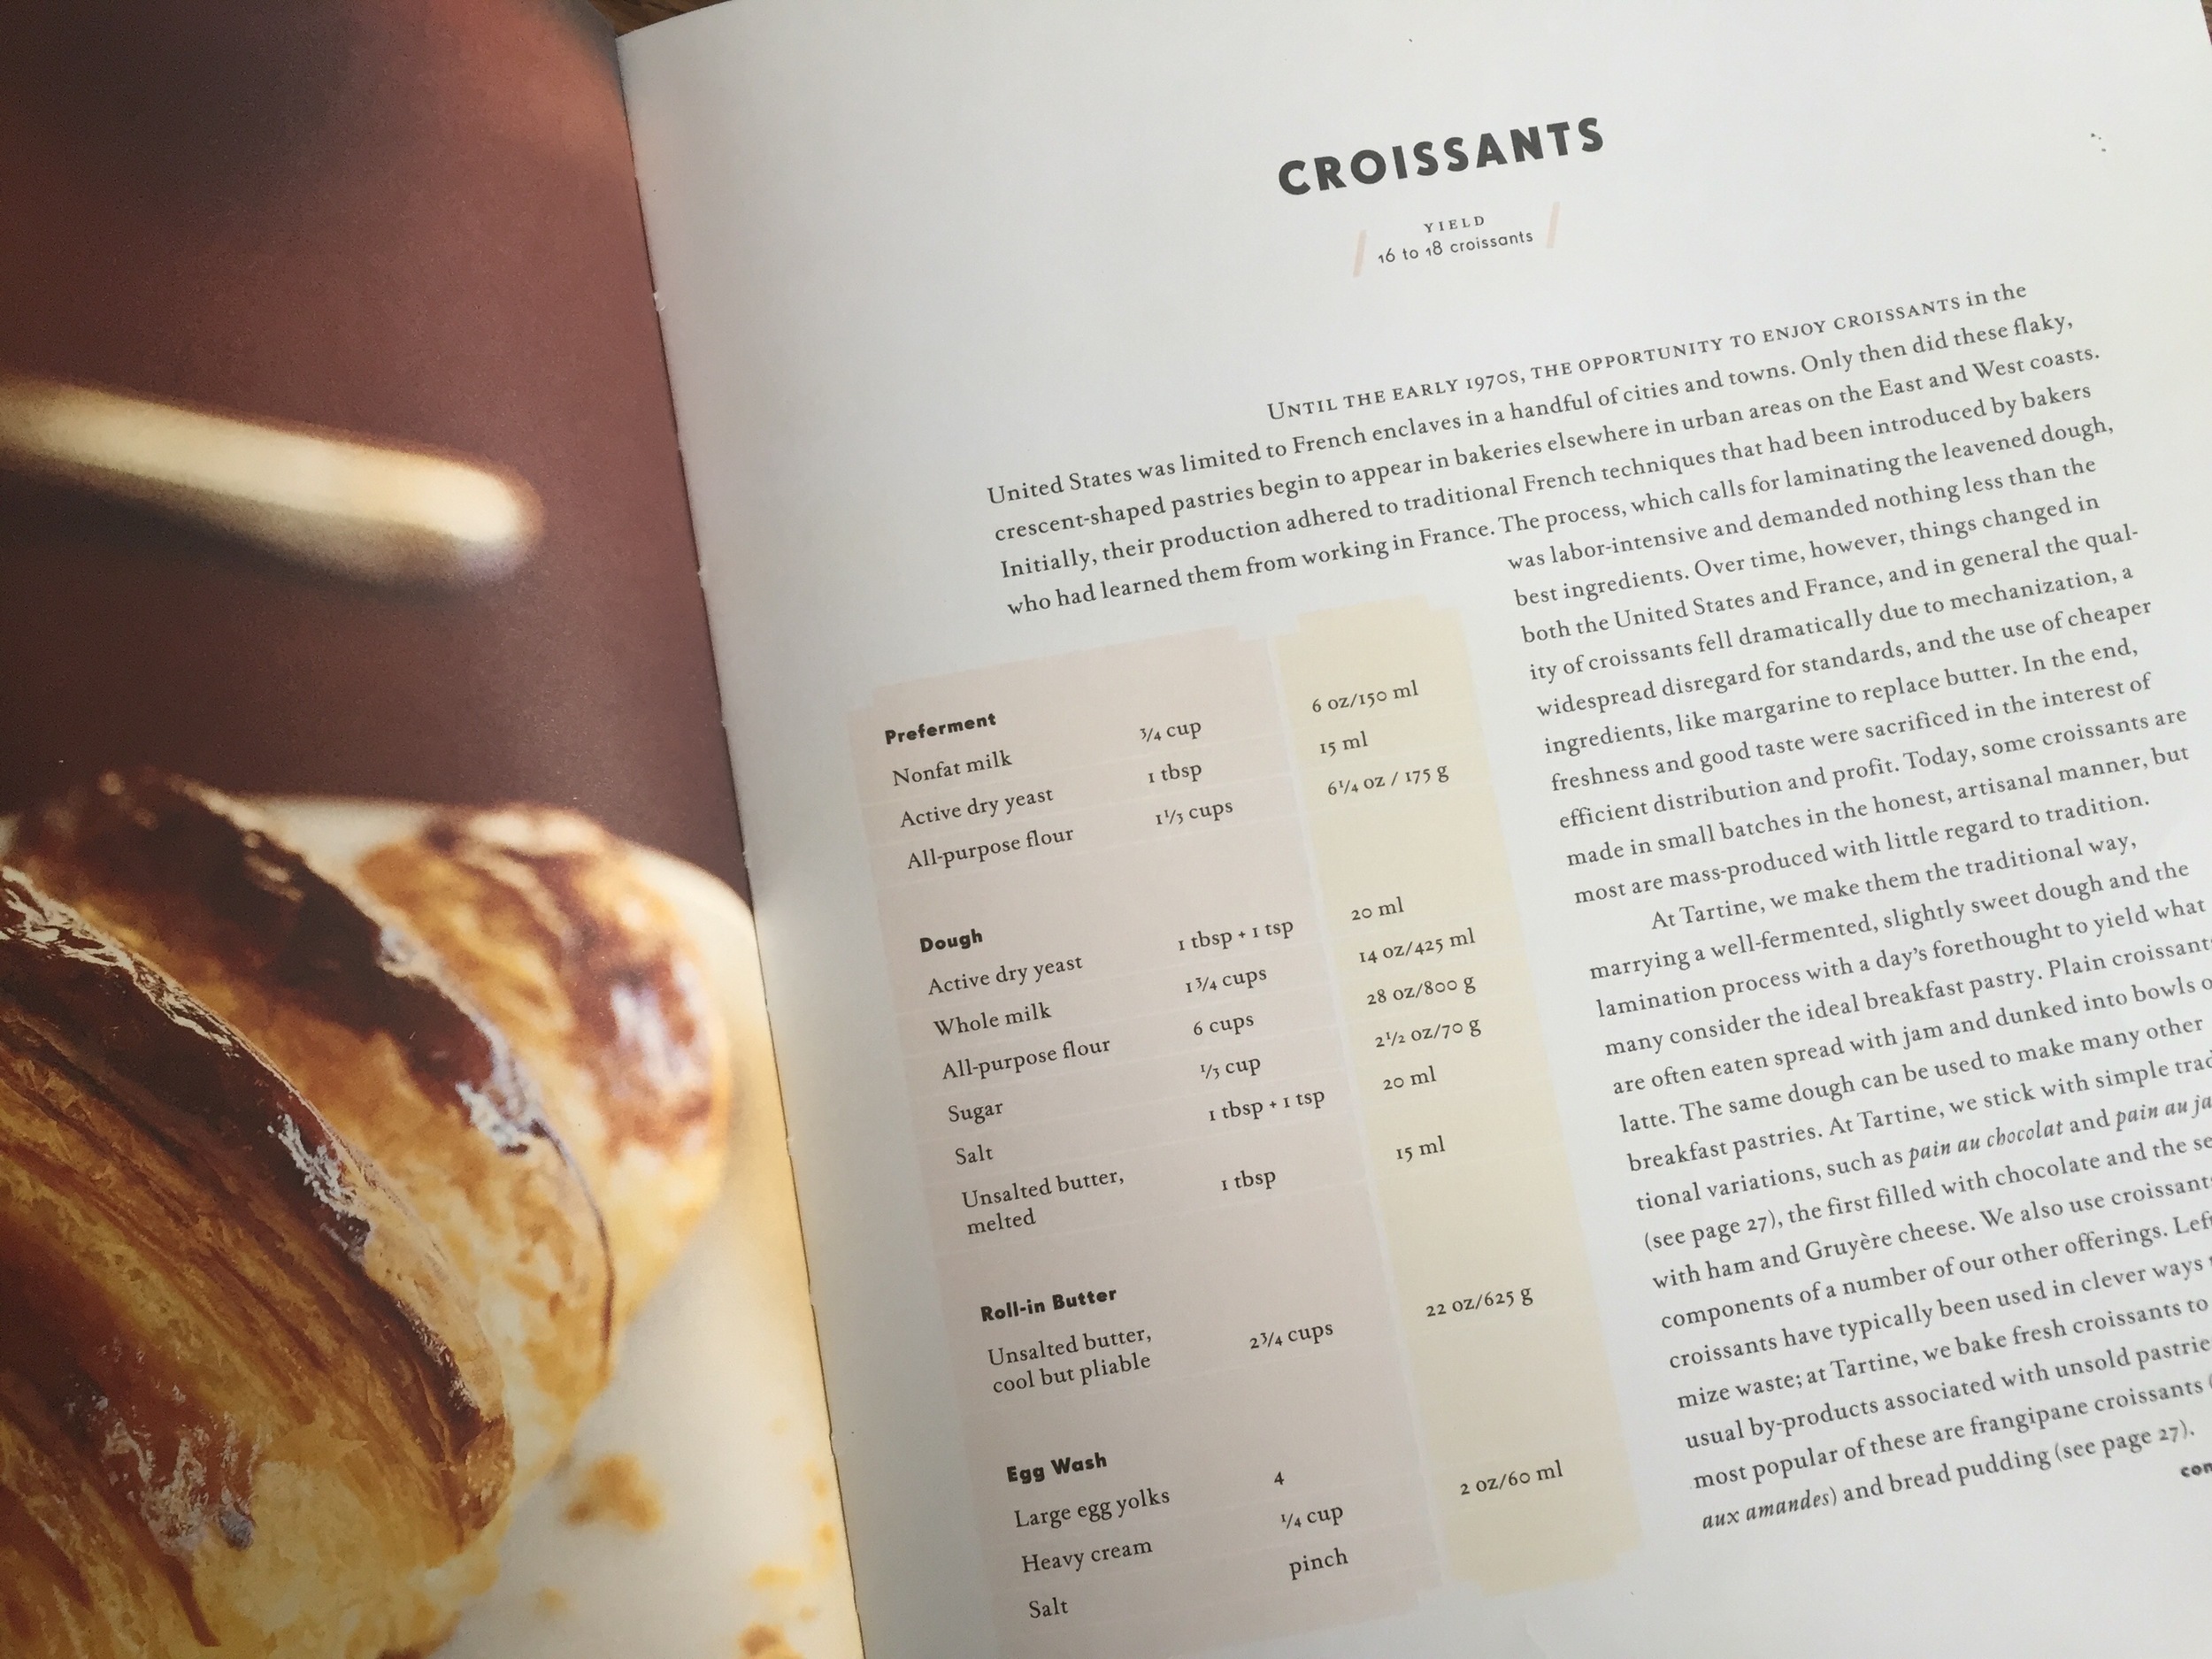
Croissants
adapted from TARTINE by Elizabeth M. Prueitt and Chad Robertson
Preferment
- 3/4 cup skim milk
- 1 1/3 cups unbleached flour
- 1 tablespoon instant yeast
Dough
- 4 teaspoons instant yeast
- 1 3/4 cups whole milk (plus extra if needed)
- 6 cups unbleached flour
- 1/3 cup sugar
- 4 teaspoons salt
- 1 tablespoon unsalted butter, melted
-
Roll-in Butter
- 2 3/4 cups unsalted butter, cool but pliable (5 1/2 sticks)
Egg Wash
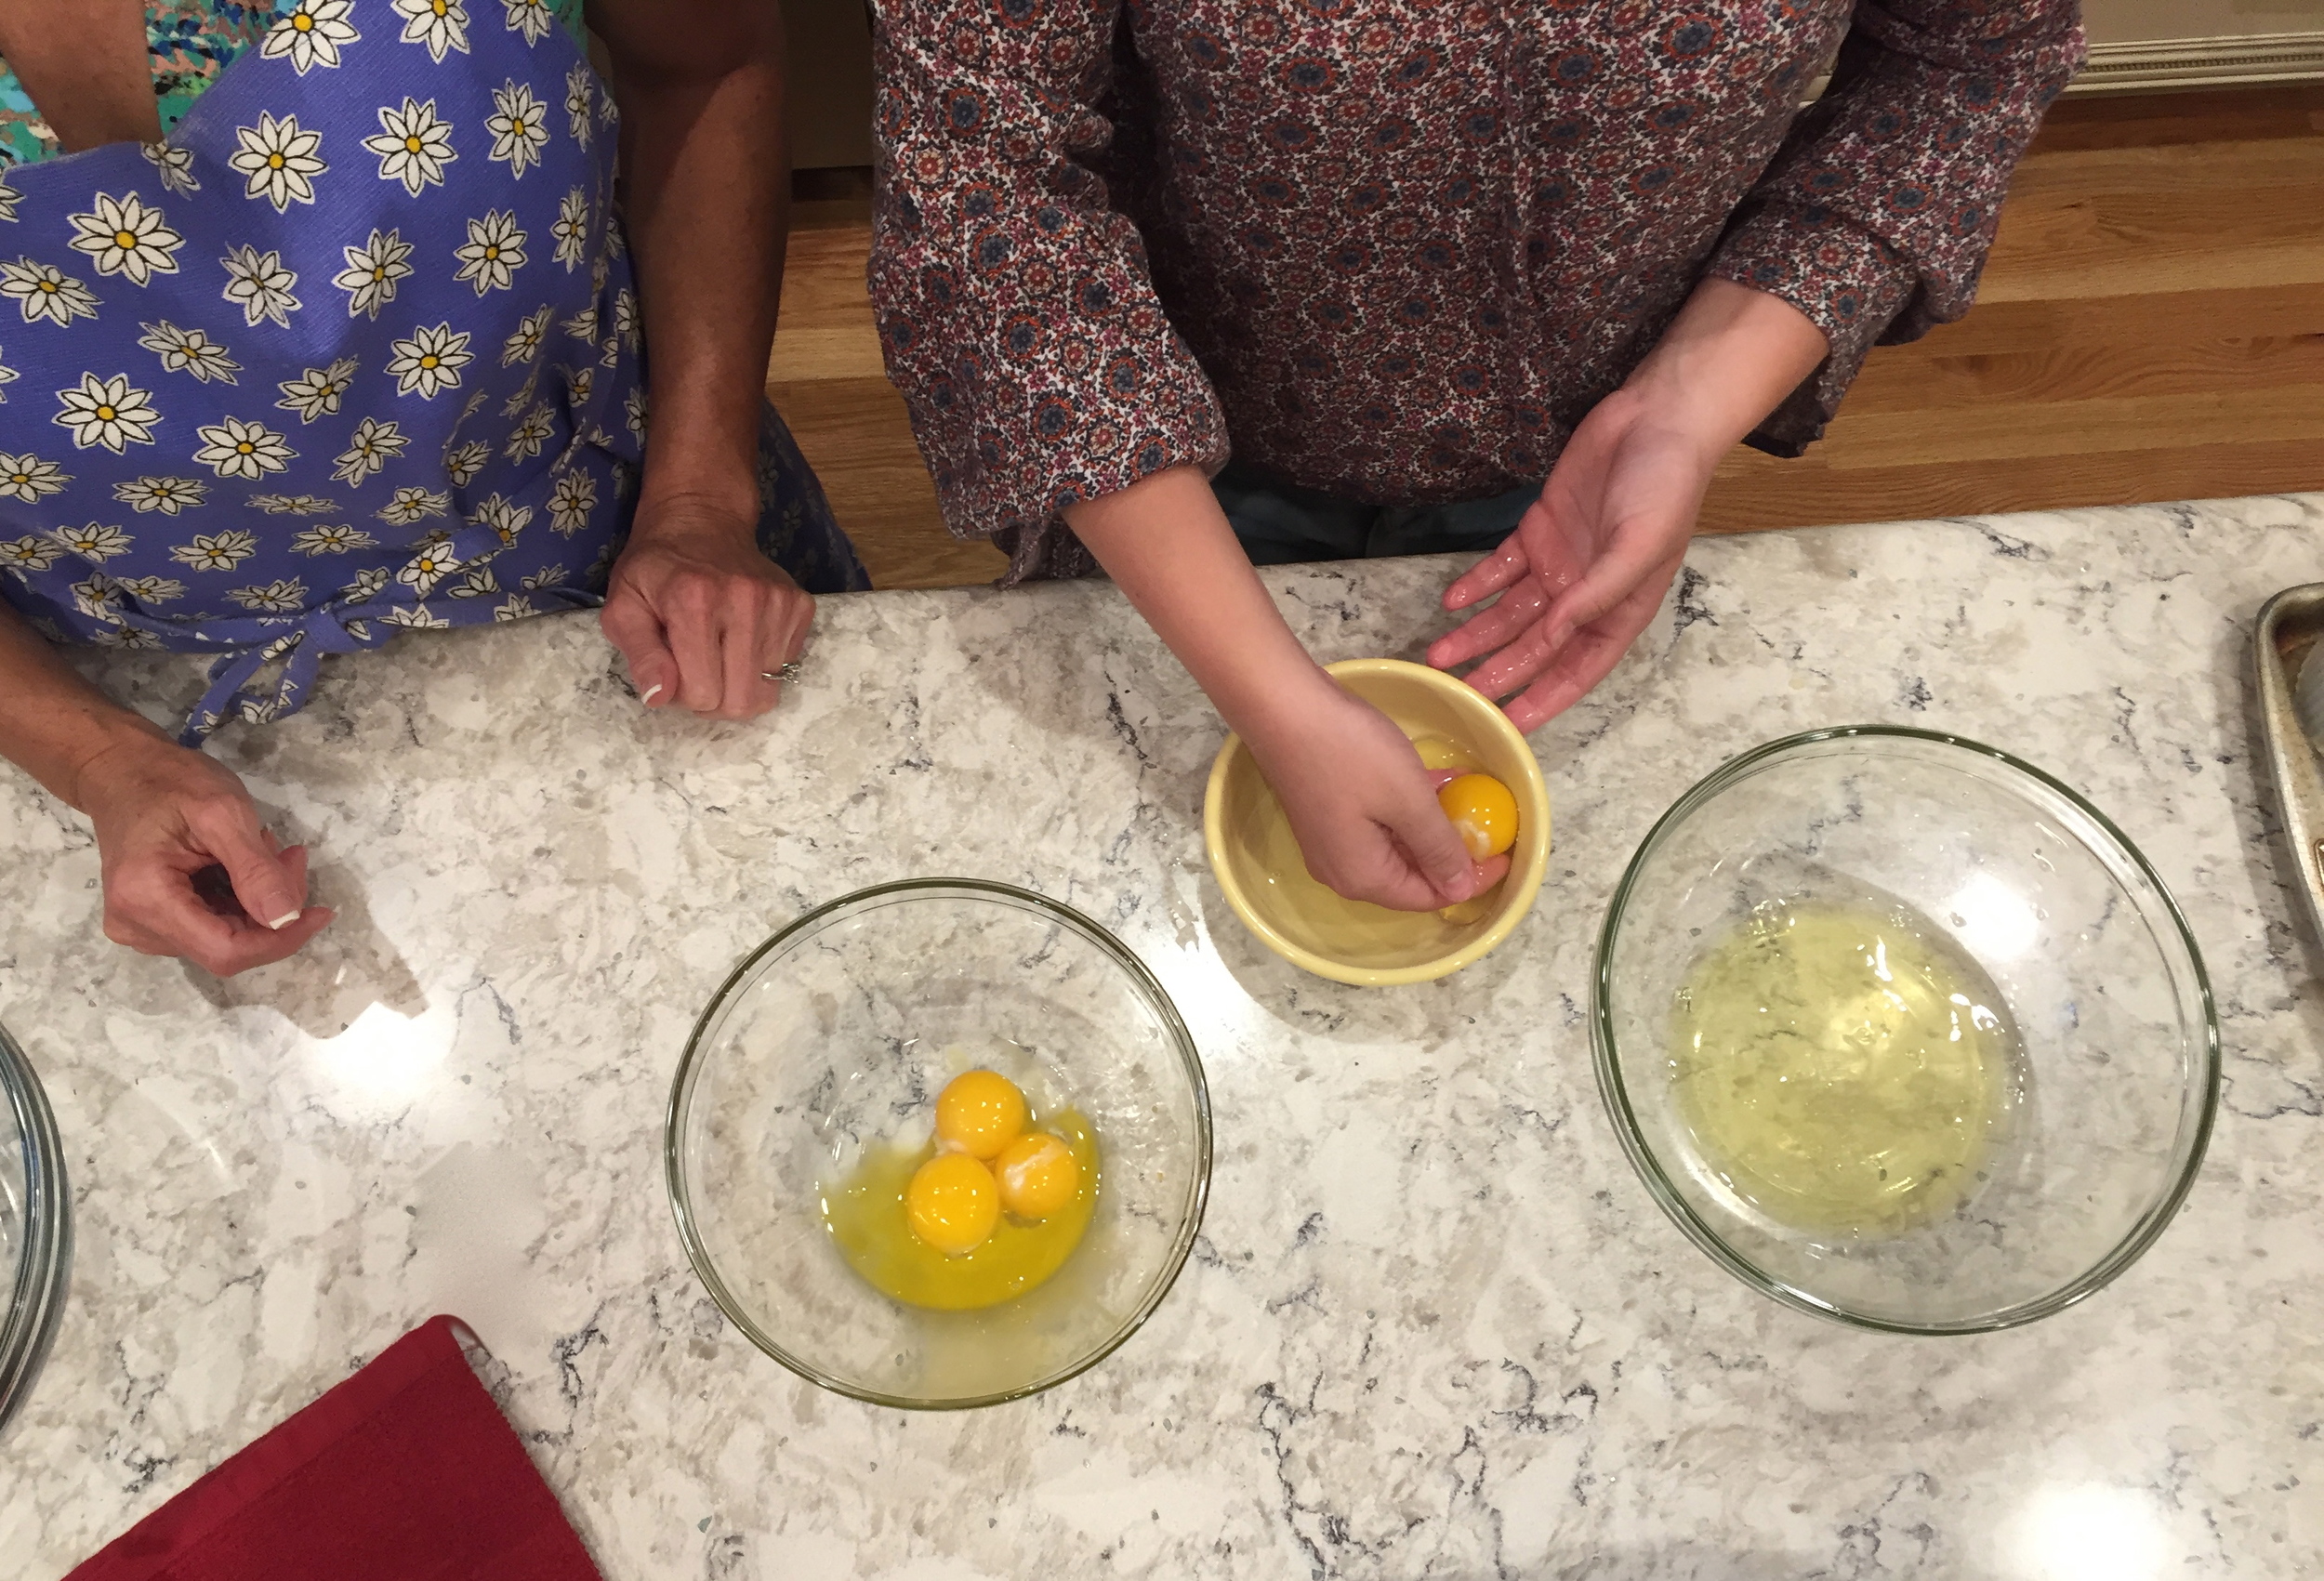
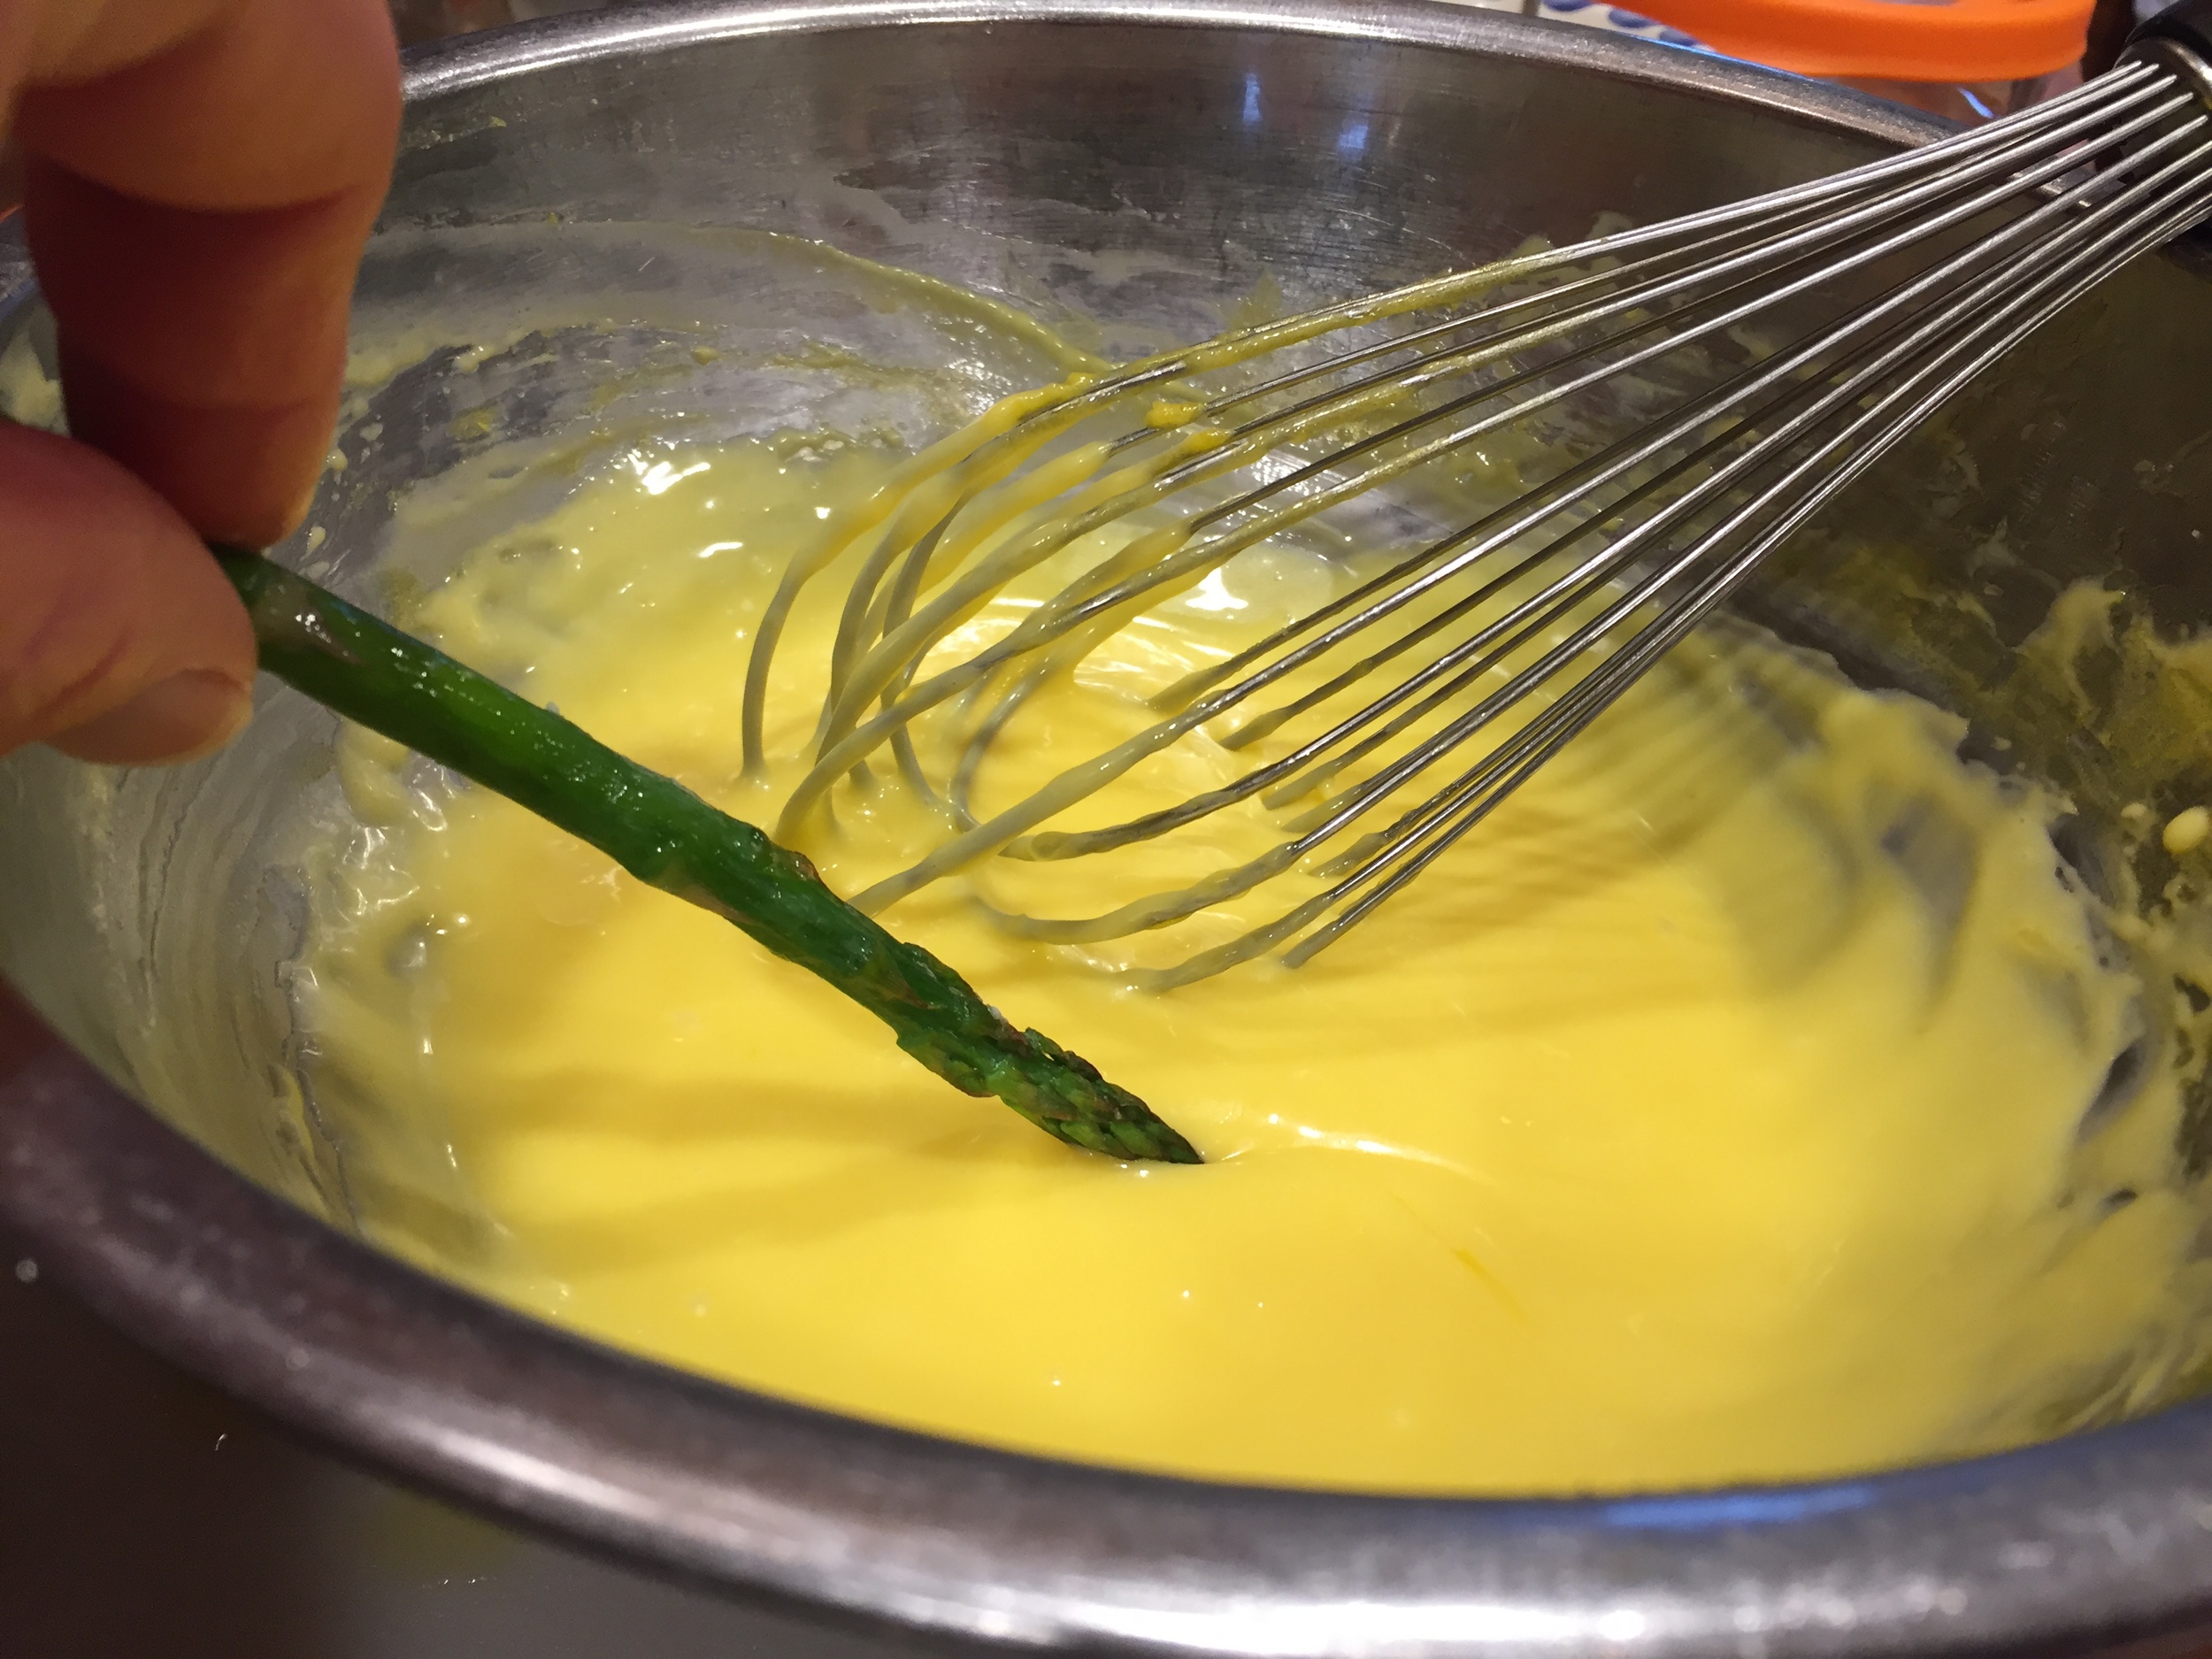
- 2 egg yolks
- 2 tablespoons heavy cream
- pinch of salt
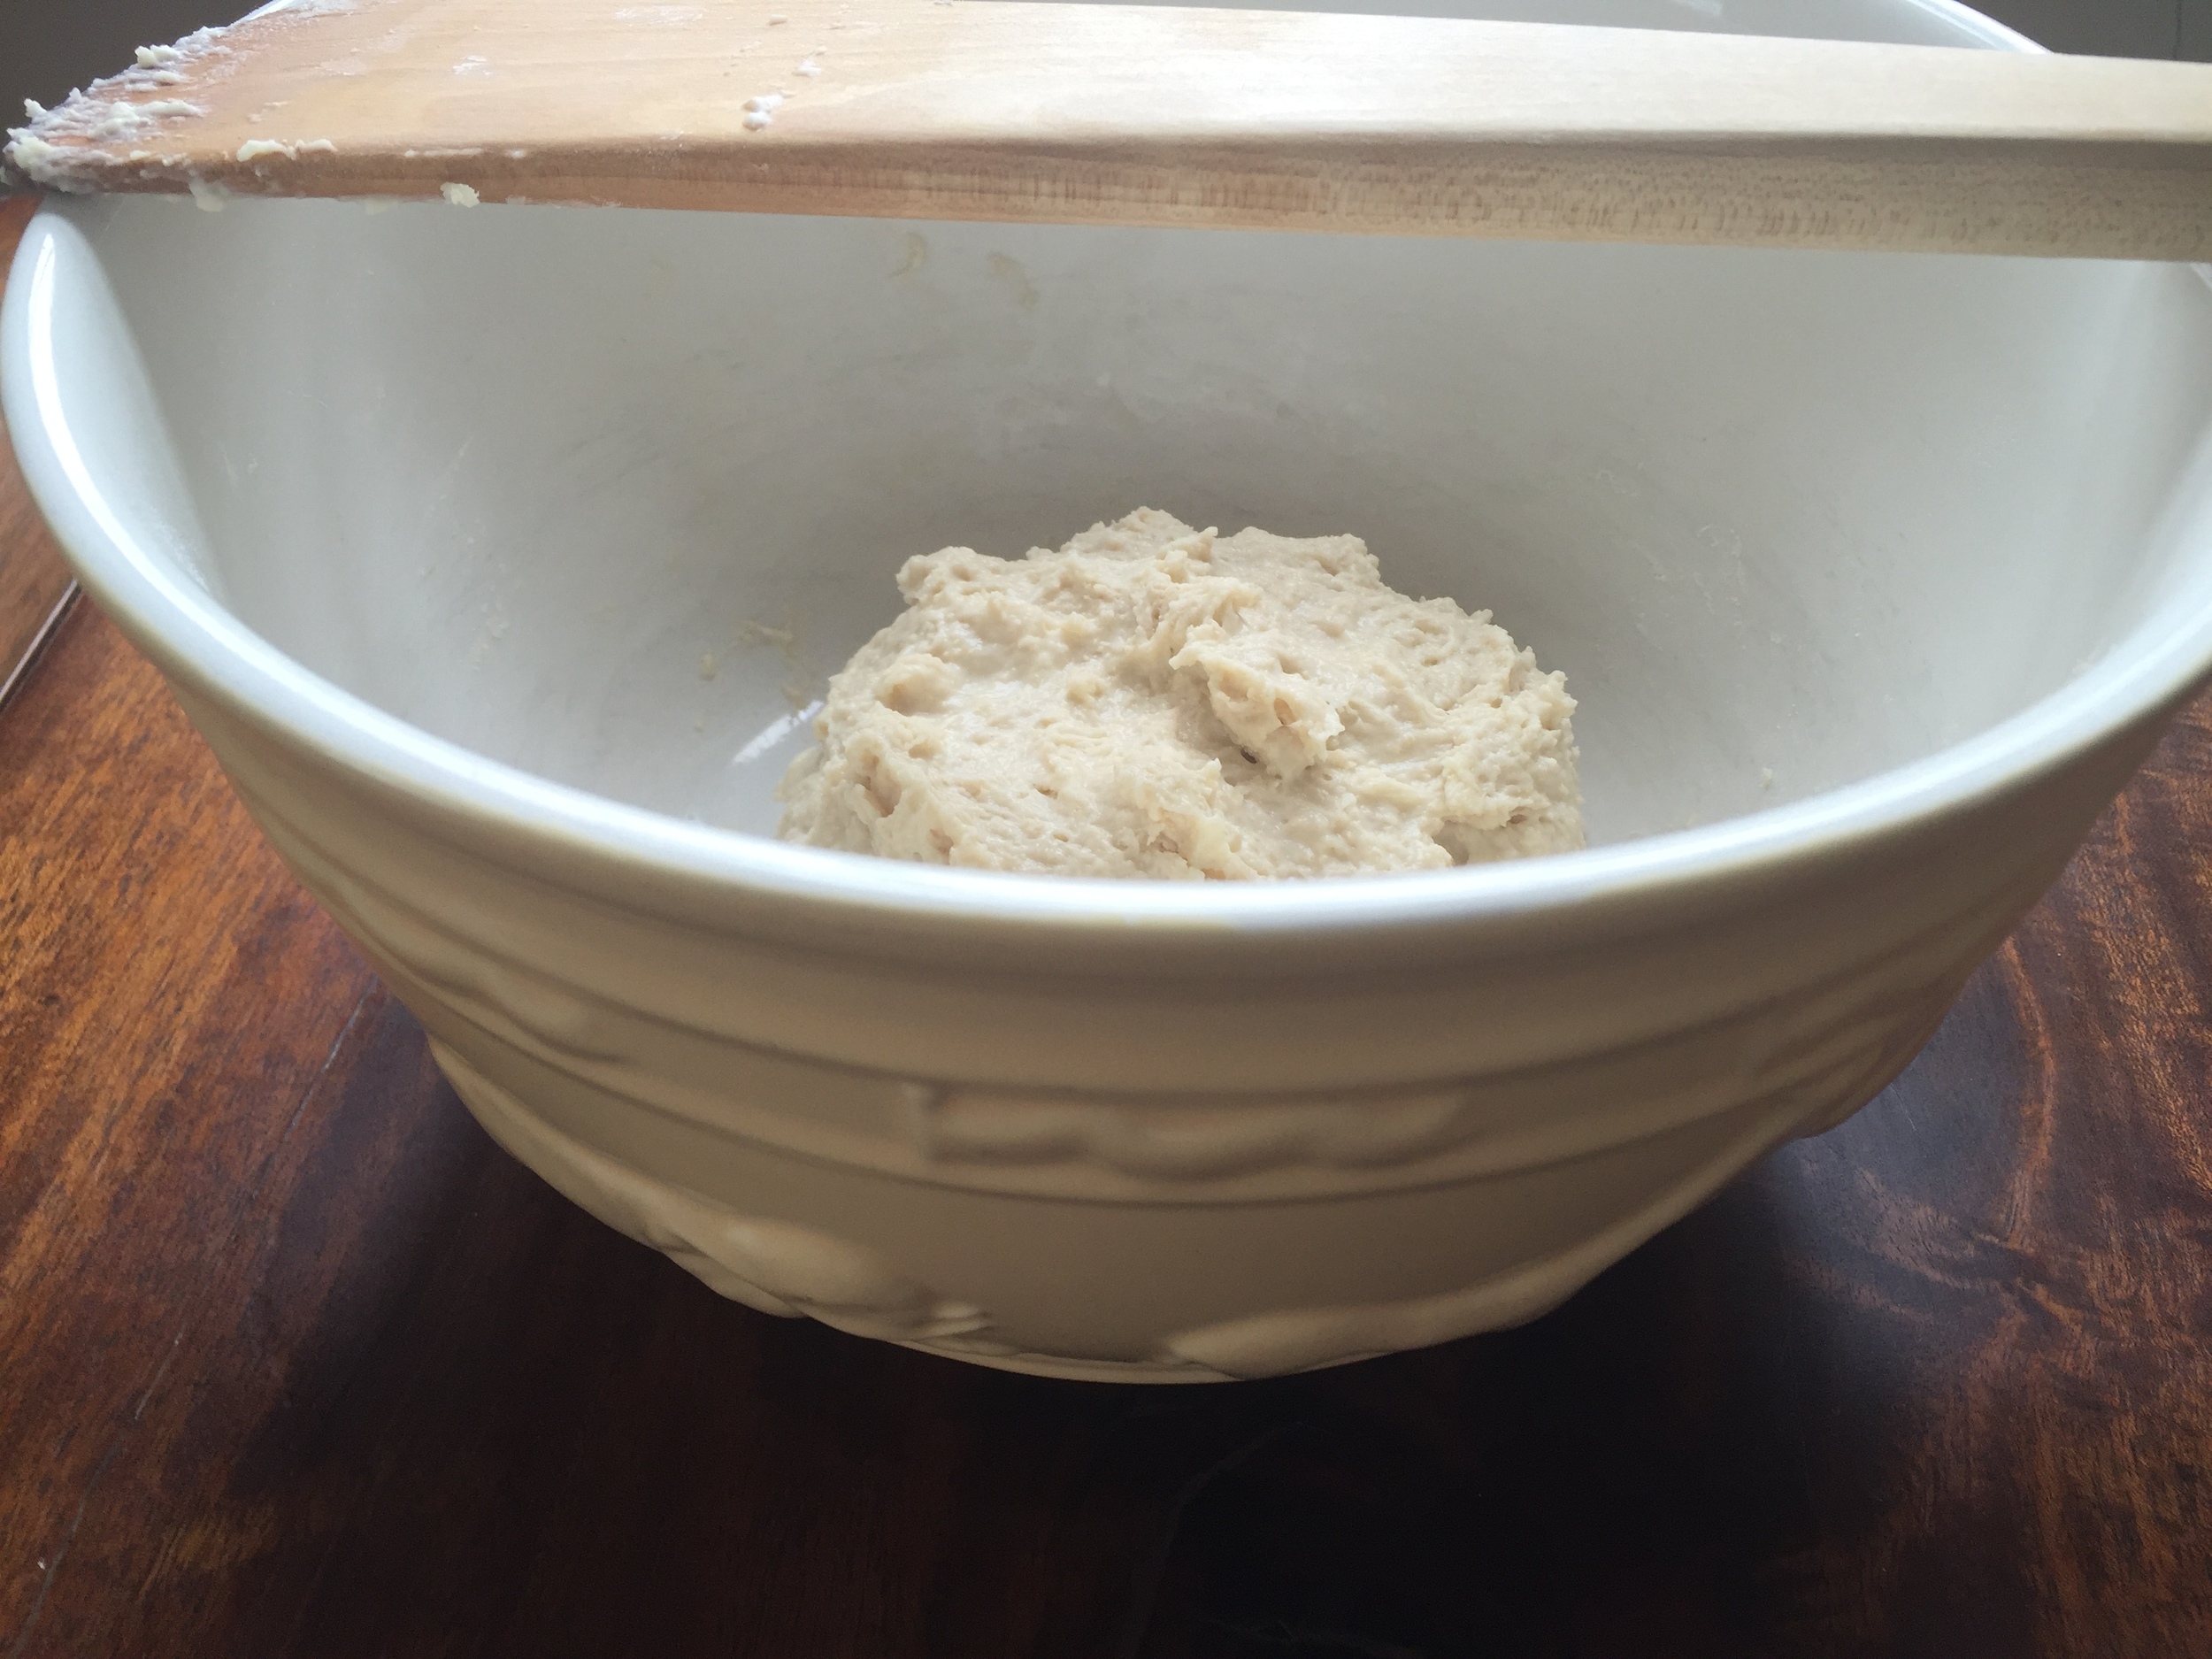
Make the preferment:
Warm the 3/4 cup skim milk in a small saucepan over low heat just to take the chill off. The milk should not feel warm or cold to the touch, 80-90 degrees.
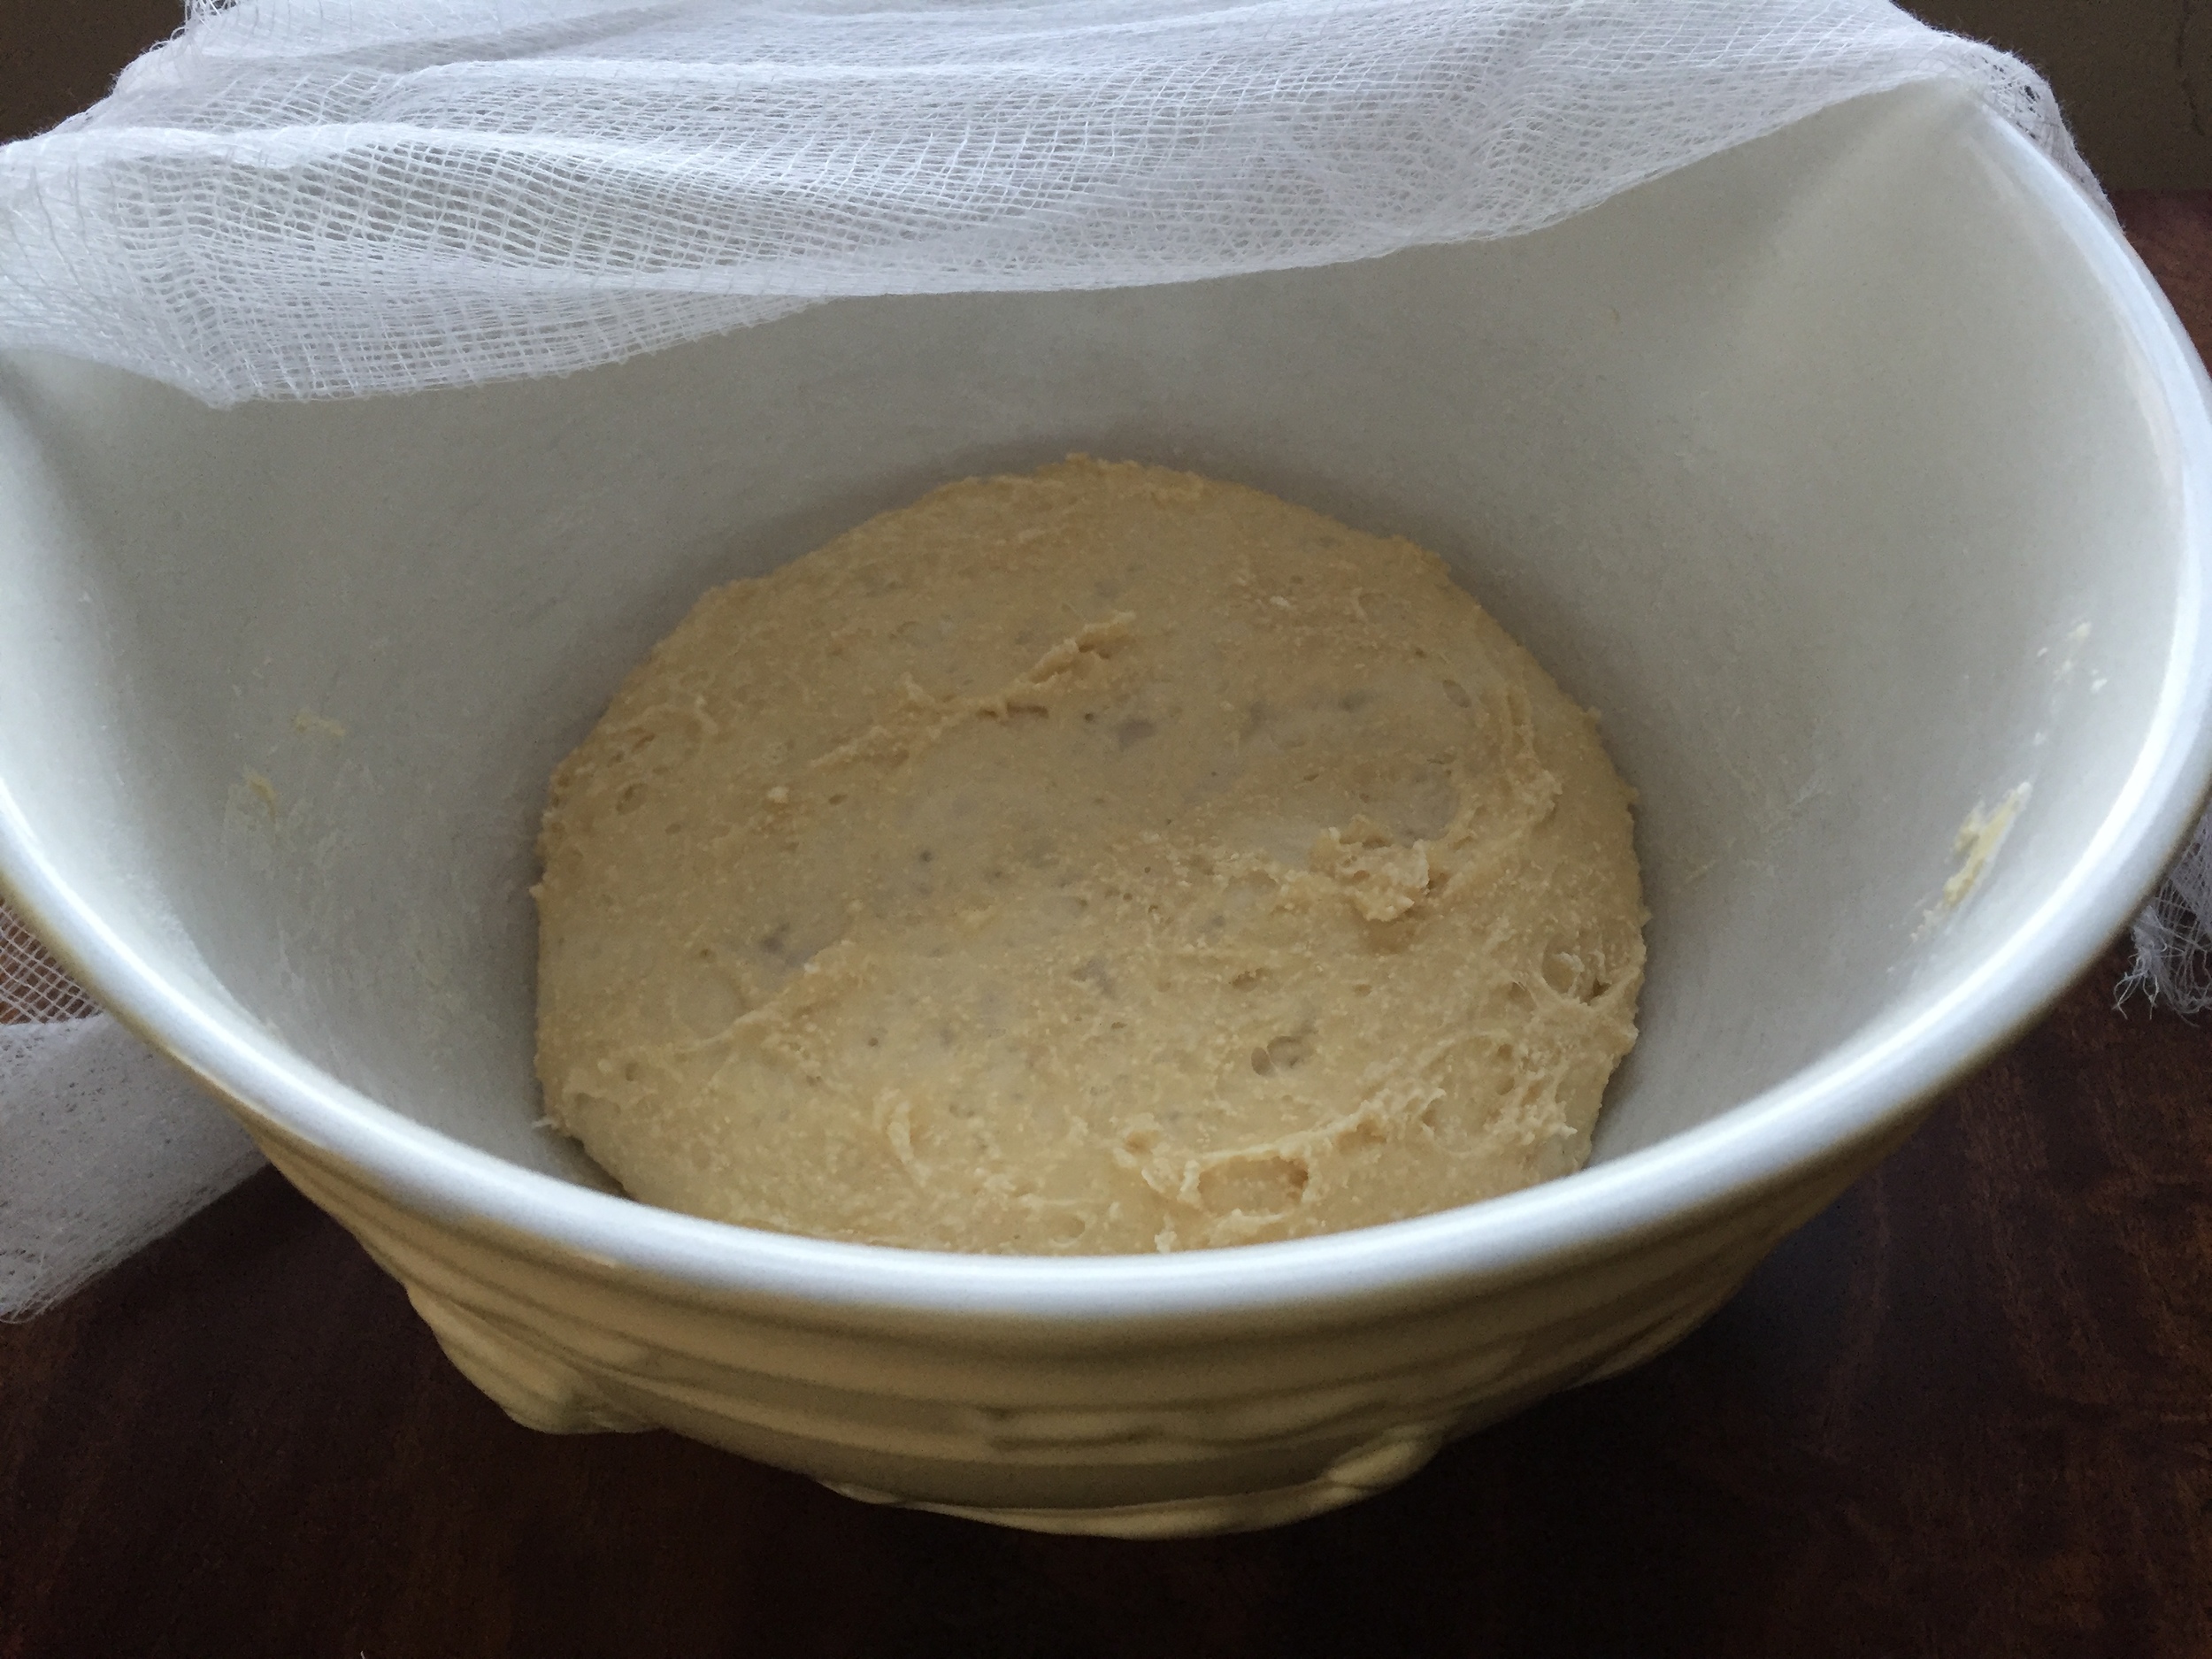
Combine the 1 1/3 cups flour with the 1 tablespoon yeast in a mixing bowl and add the milk, stirring to create a soft dough. Cover the bowl with plastic wrap and let the mixture rise until doubled in volume, about 2 hours at room temperature or overnight in the refrigerator.
Make the dough:
Measure all the ingredients for the dough (like the French do -- mise en place!). Transfer the preferment and the 4 teaspoons of yeast to the large bowl of a stand mixer fitted with the paddle attachment. Mix on low speed until the yeast is incorporated, stopping the mixer to scrape the bowl as needed. When the mixture is well combined, increase the speed to medium and mix for a couple of minutes, then slowly add half of the whole milk and mix well.
Reduce the mixer speed to low, gradually add the flour (to prevent the ‘whiteout’ flour explosion), sugar, salt, melted butter, and the remaining milk. Scrape the dough from the paddle and switch to the dough hook. Mix until well combined, about 3 minutes. Turn off the mixer and let the dough rest for 15 to 20 minutes.
Turn the mixer on to low and mix until the dough is smooth and elastic, adding additional milk one tablespoon at a time as needed. Take care not to overmix, about 4 minutes is all it takes. Cover the bowl with plastic wrap and let rise in a cool place until volume increases by half, about 1 1/2 hours.
Transfer the dough to a lightly floured work surface and press into a 2-inch thick rectangle. Wrap the rectangle in plastic wrap and place in the refrigerator to chill for 4 to 6 hours.
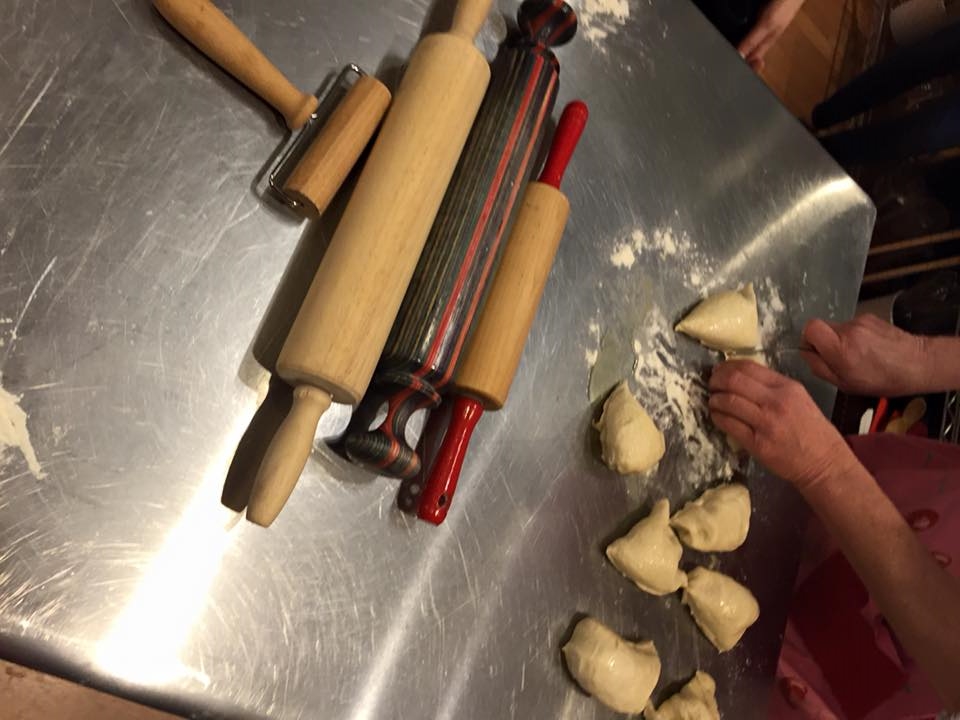
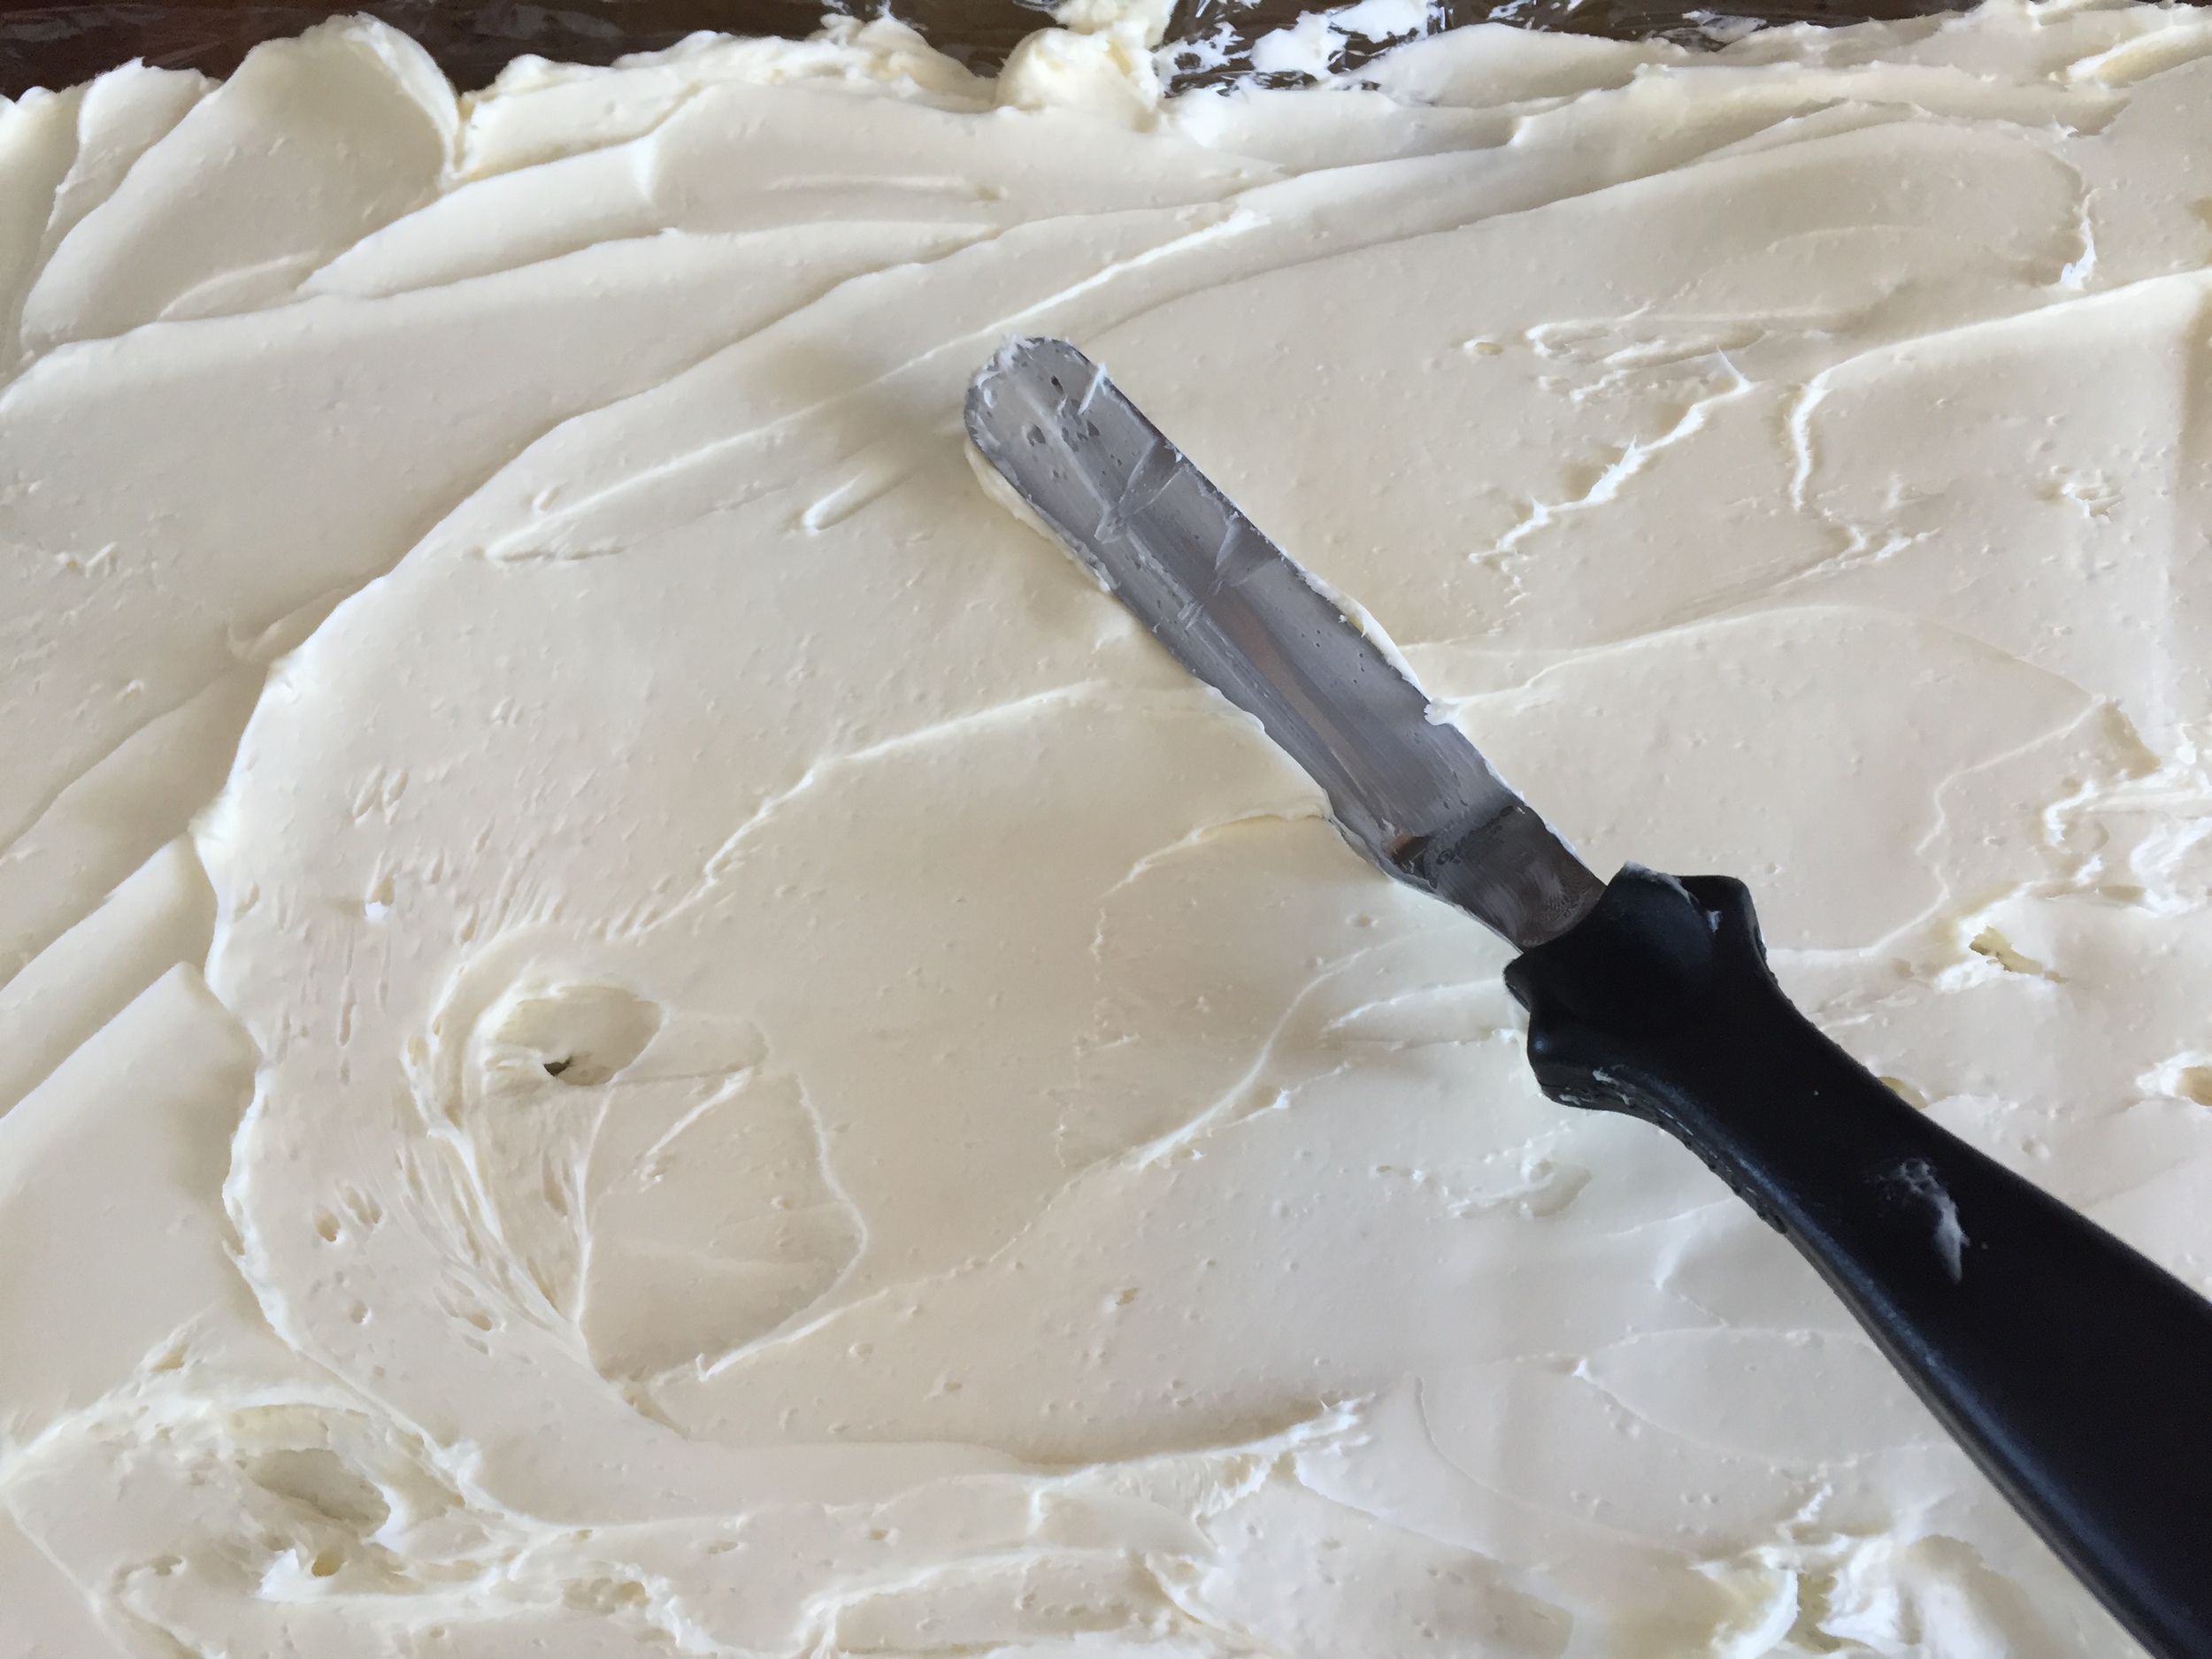
About 1 hour before you are ready to start laminating the dough, put the rolling-in butter into the bowl of a stand mixer fitted with the paddle attachment. Beat on medium speed until creamy, but not soft, about 3 minutes. Spread the creamy cold butter out onto a sheet of plastic wrap into a rectangle about 12 by 18-inches. Lay another sheet of wrap over the butter and place in the refrigerator to chill but not resolidify.
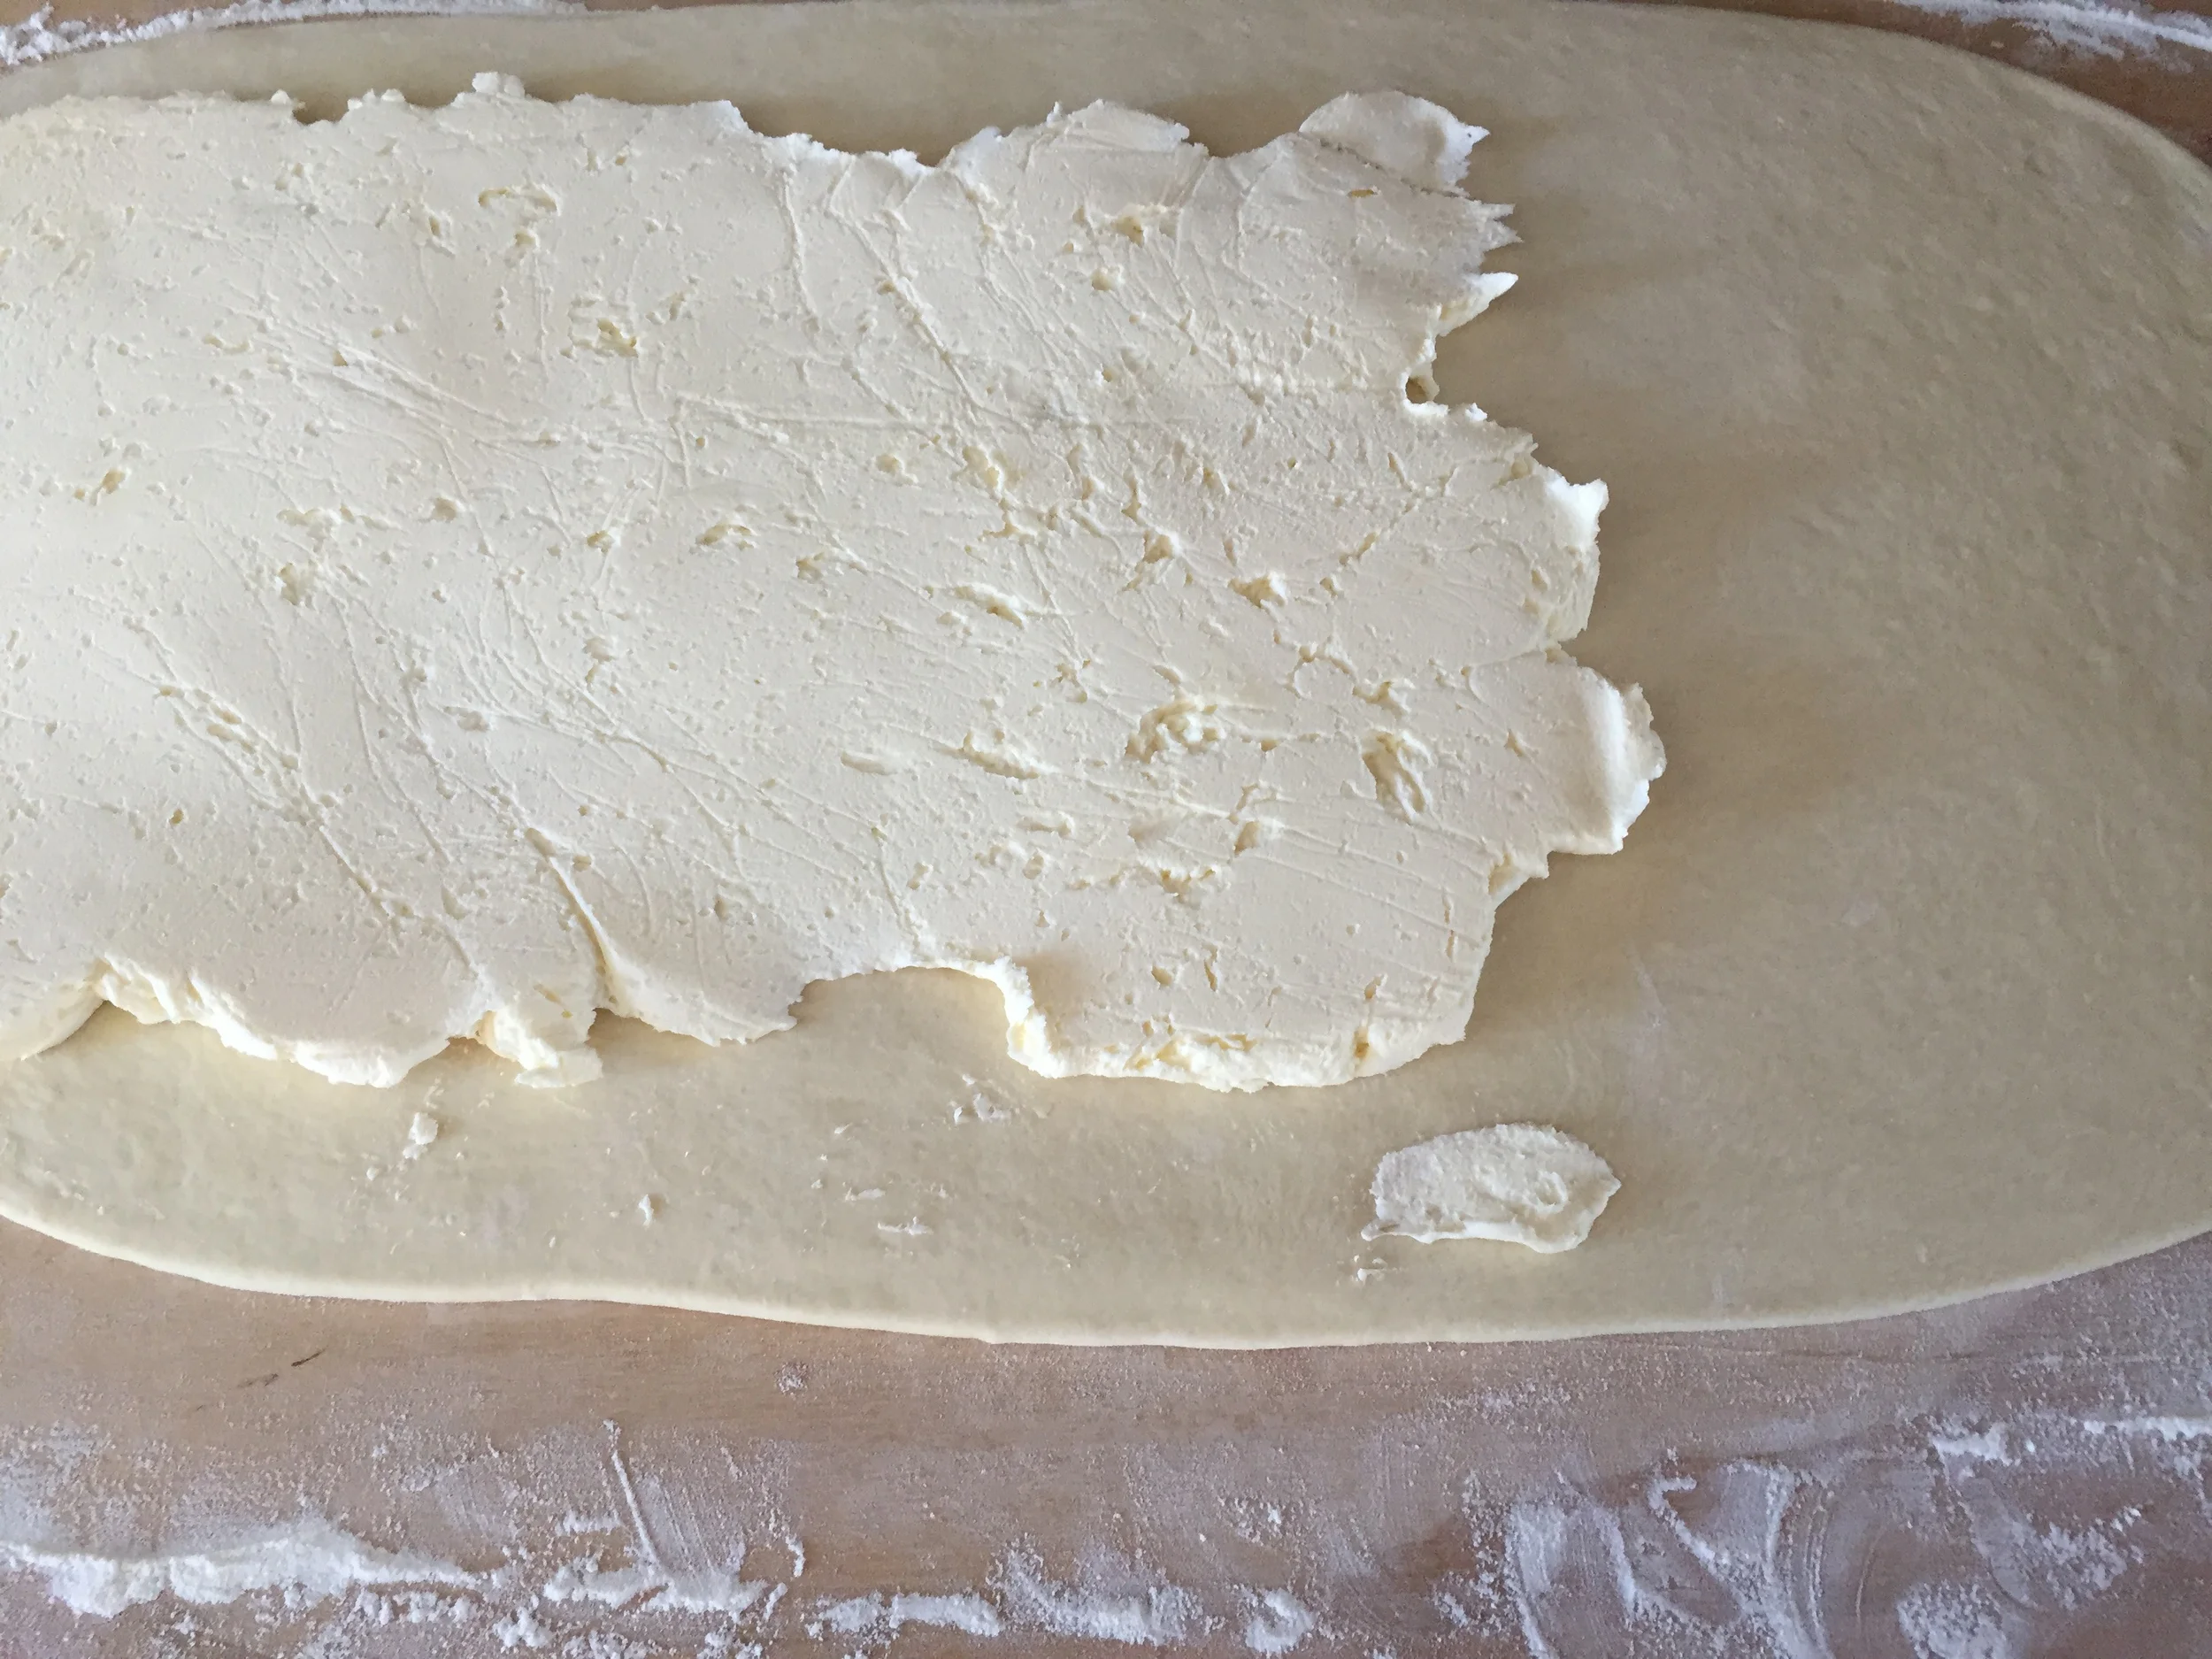
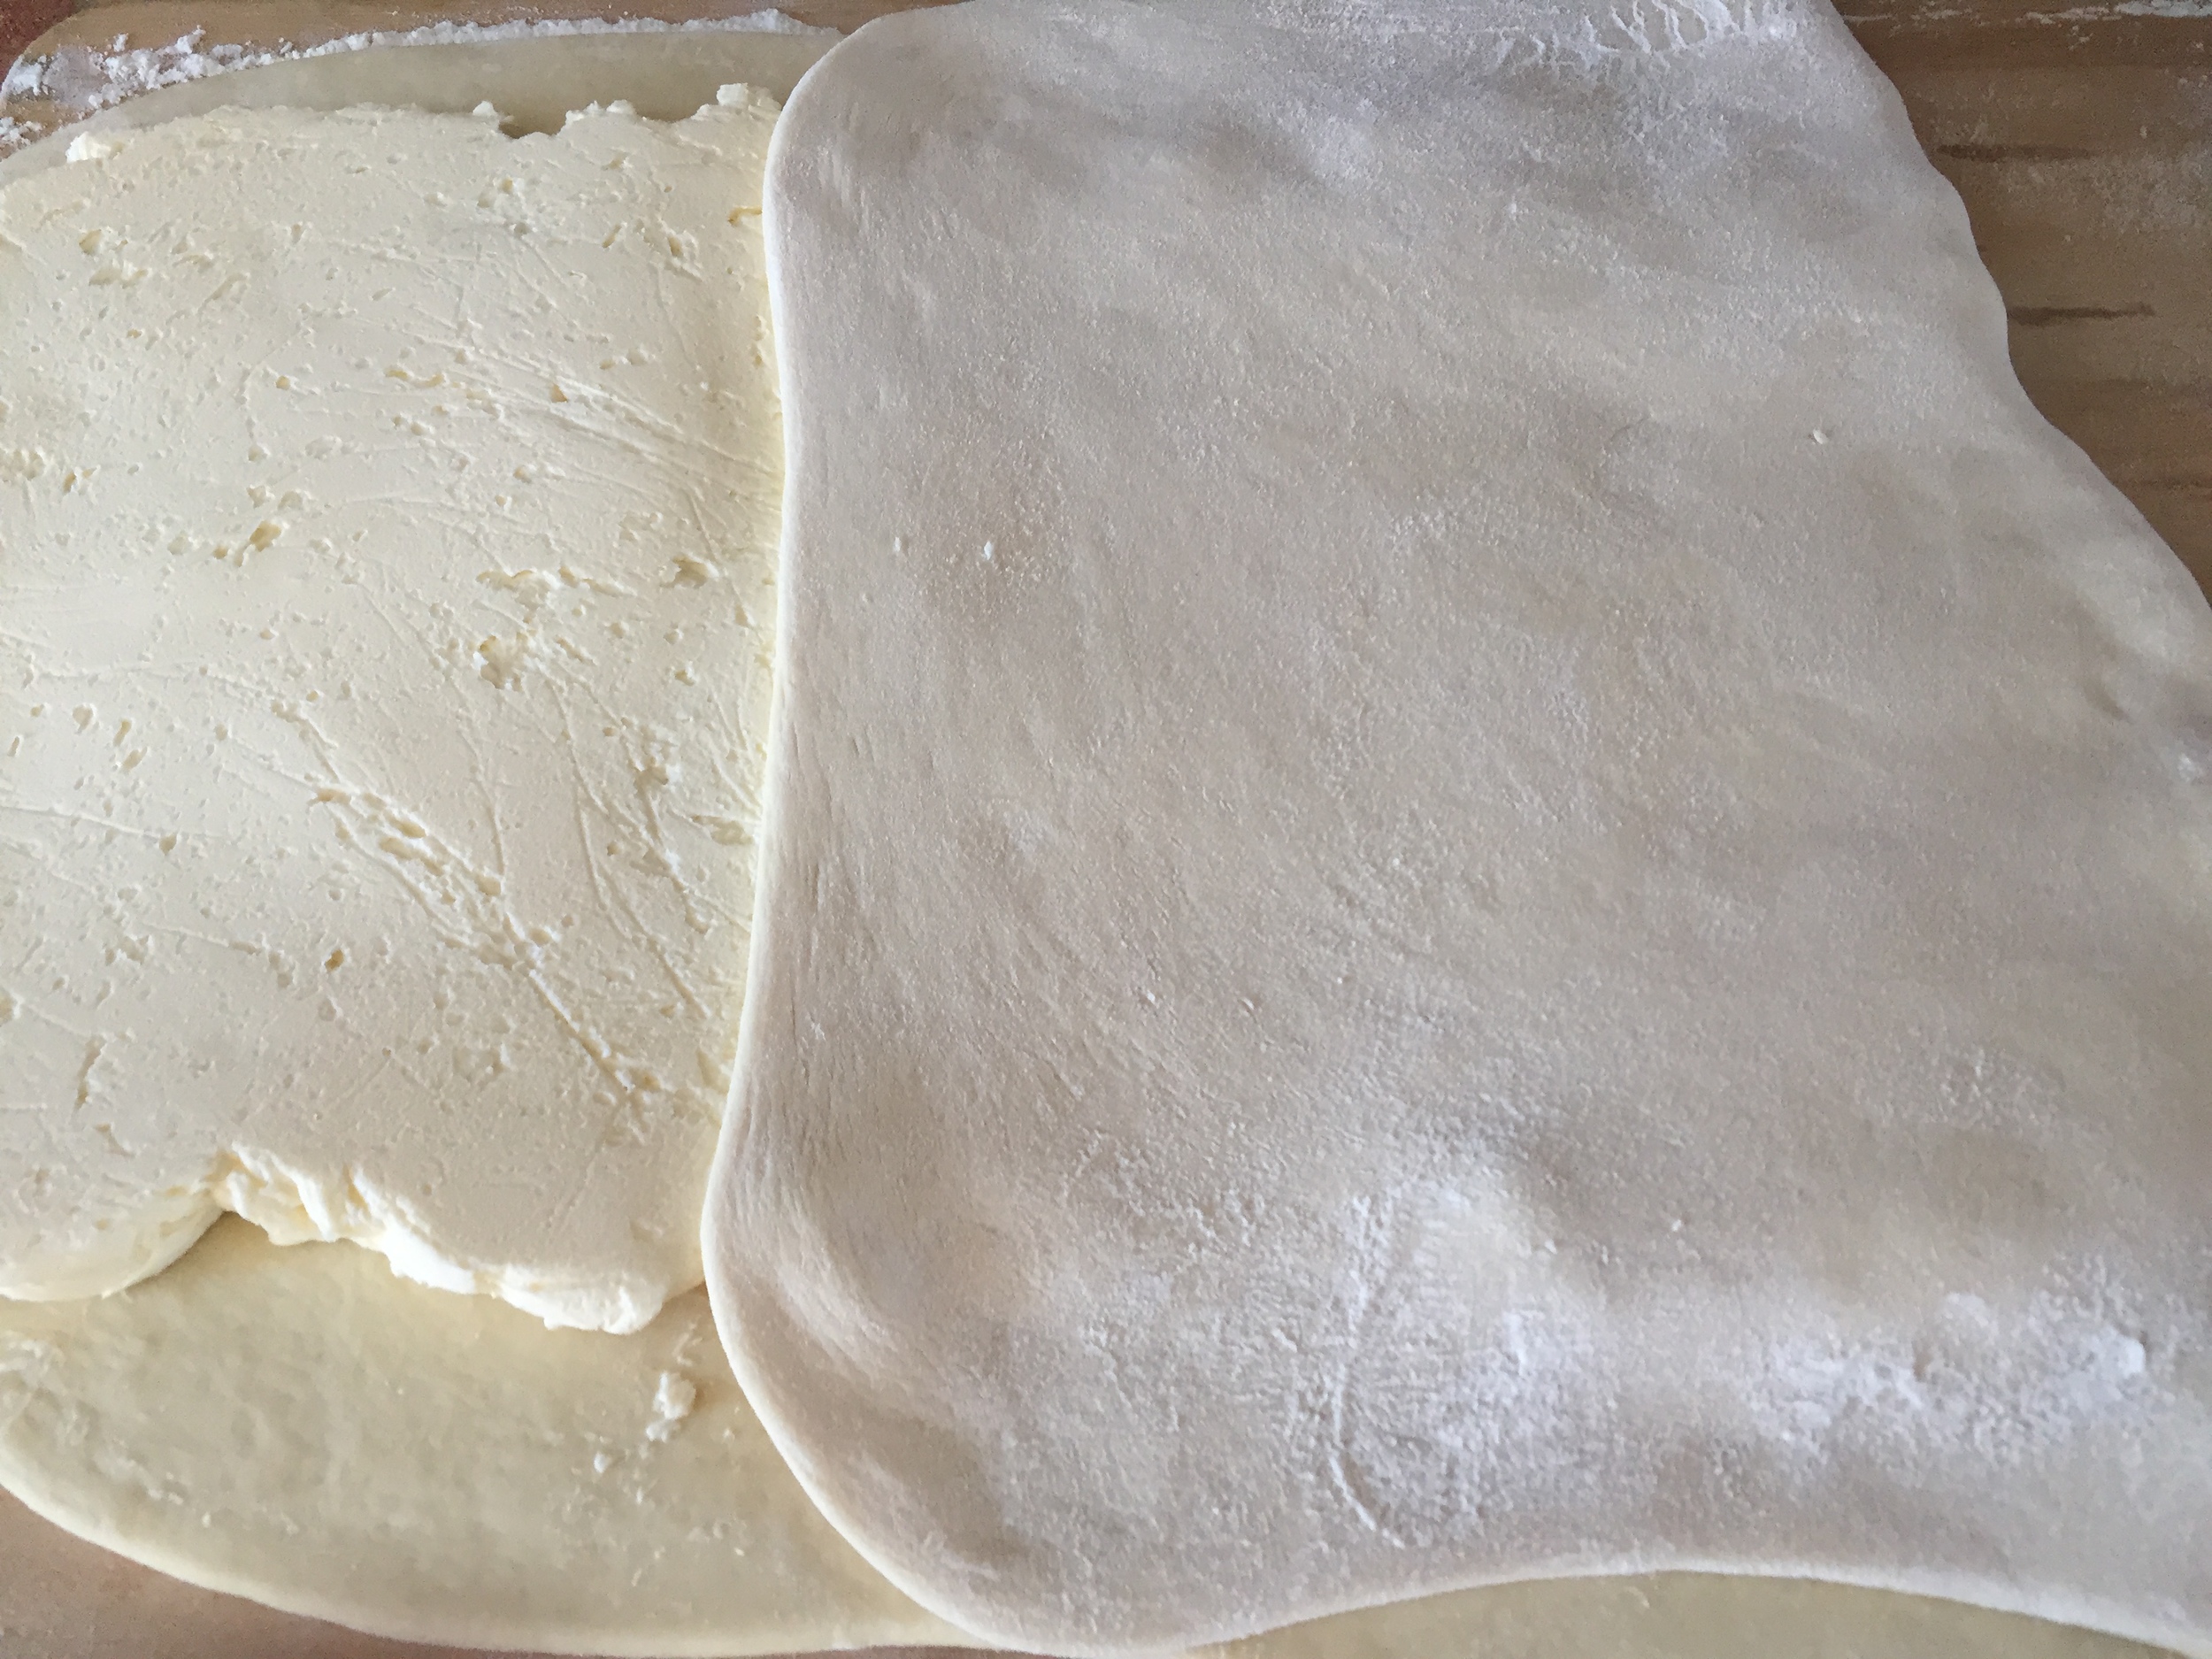
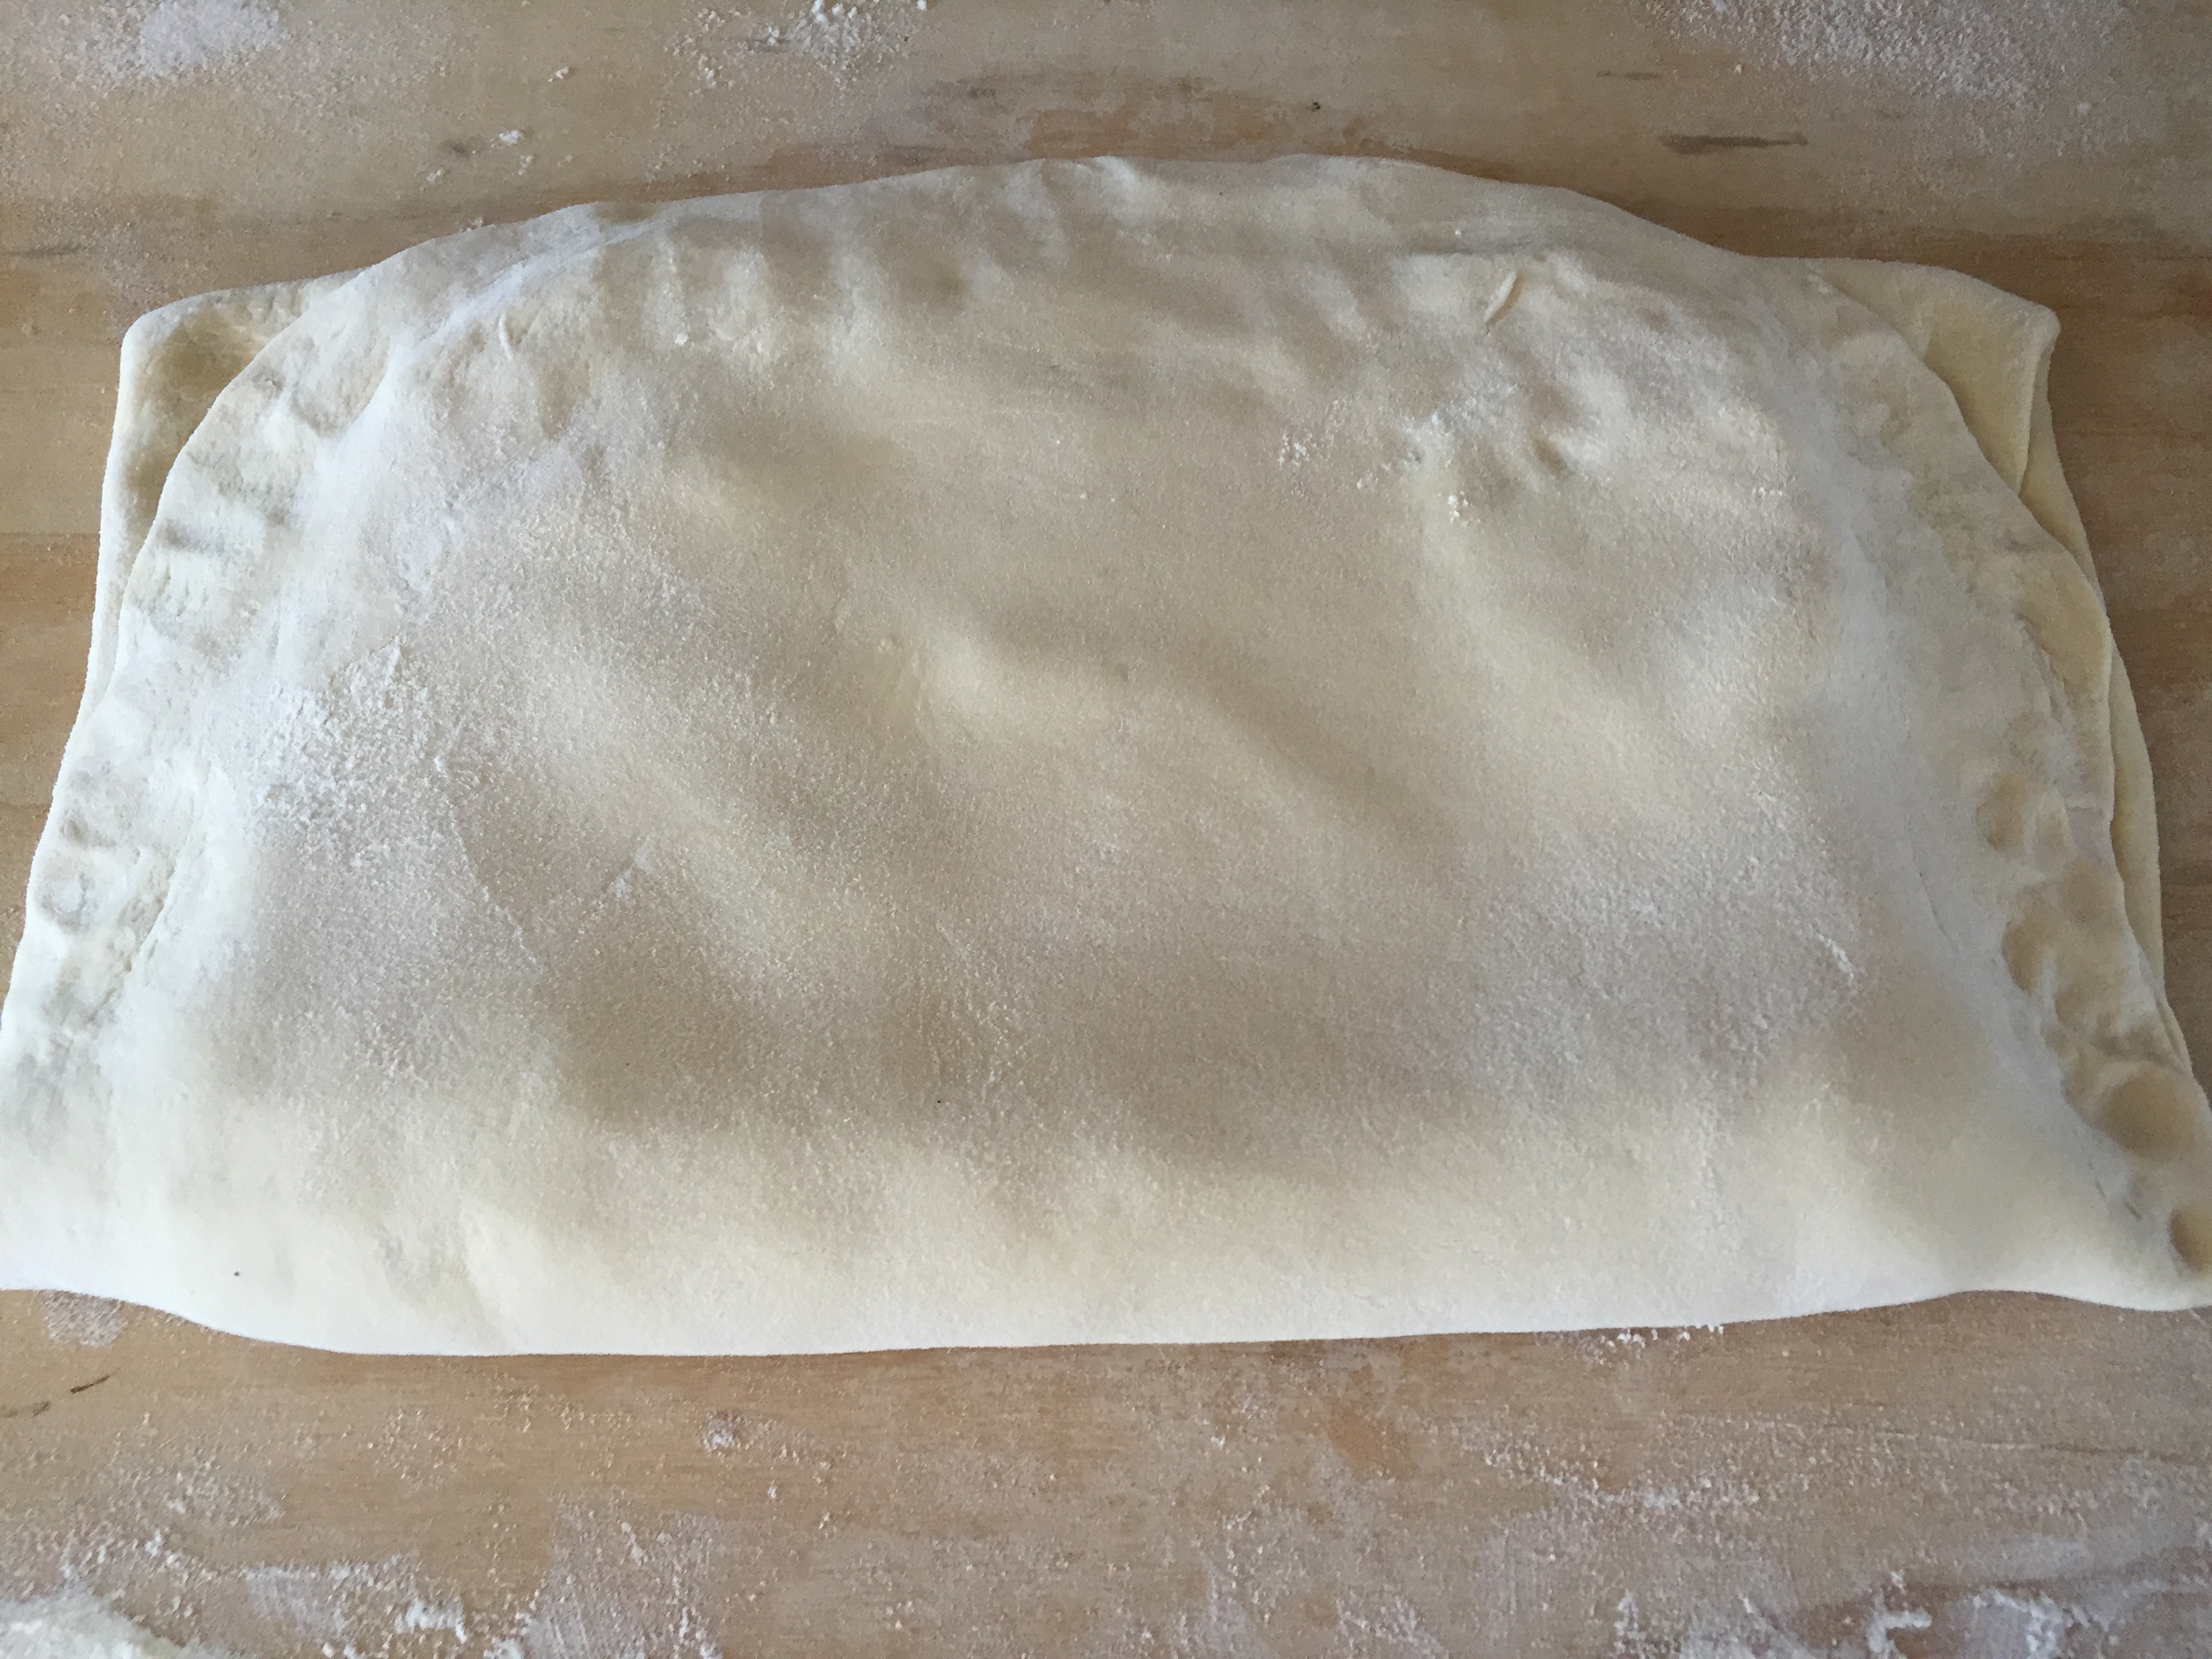
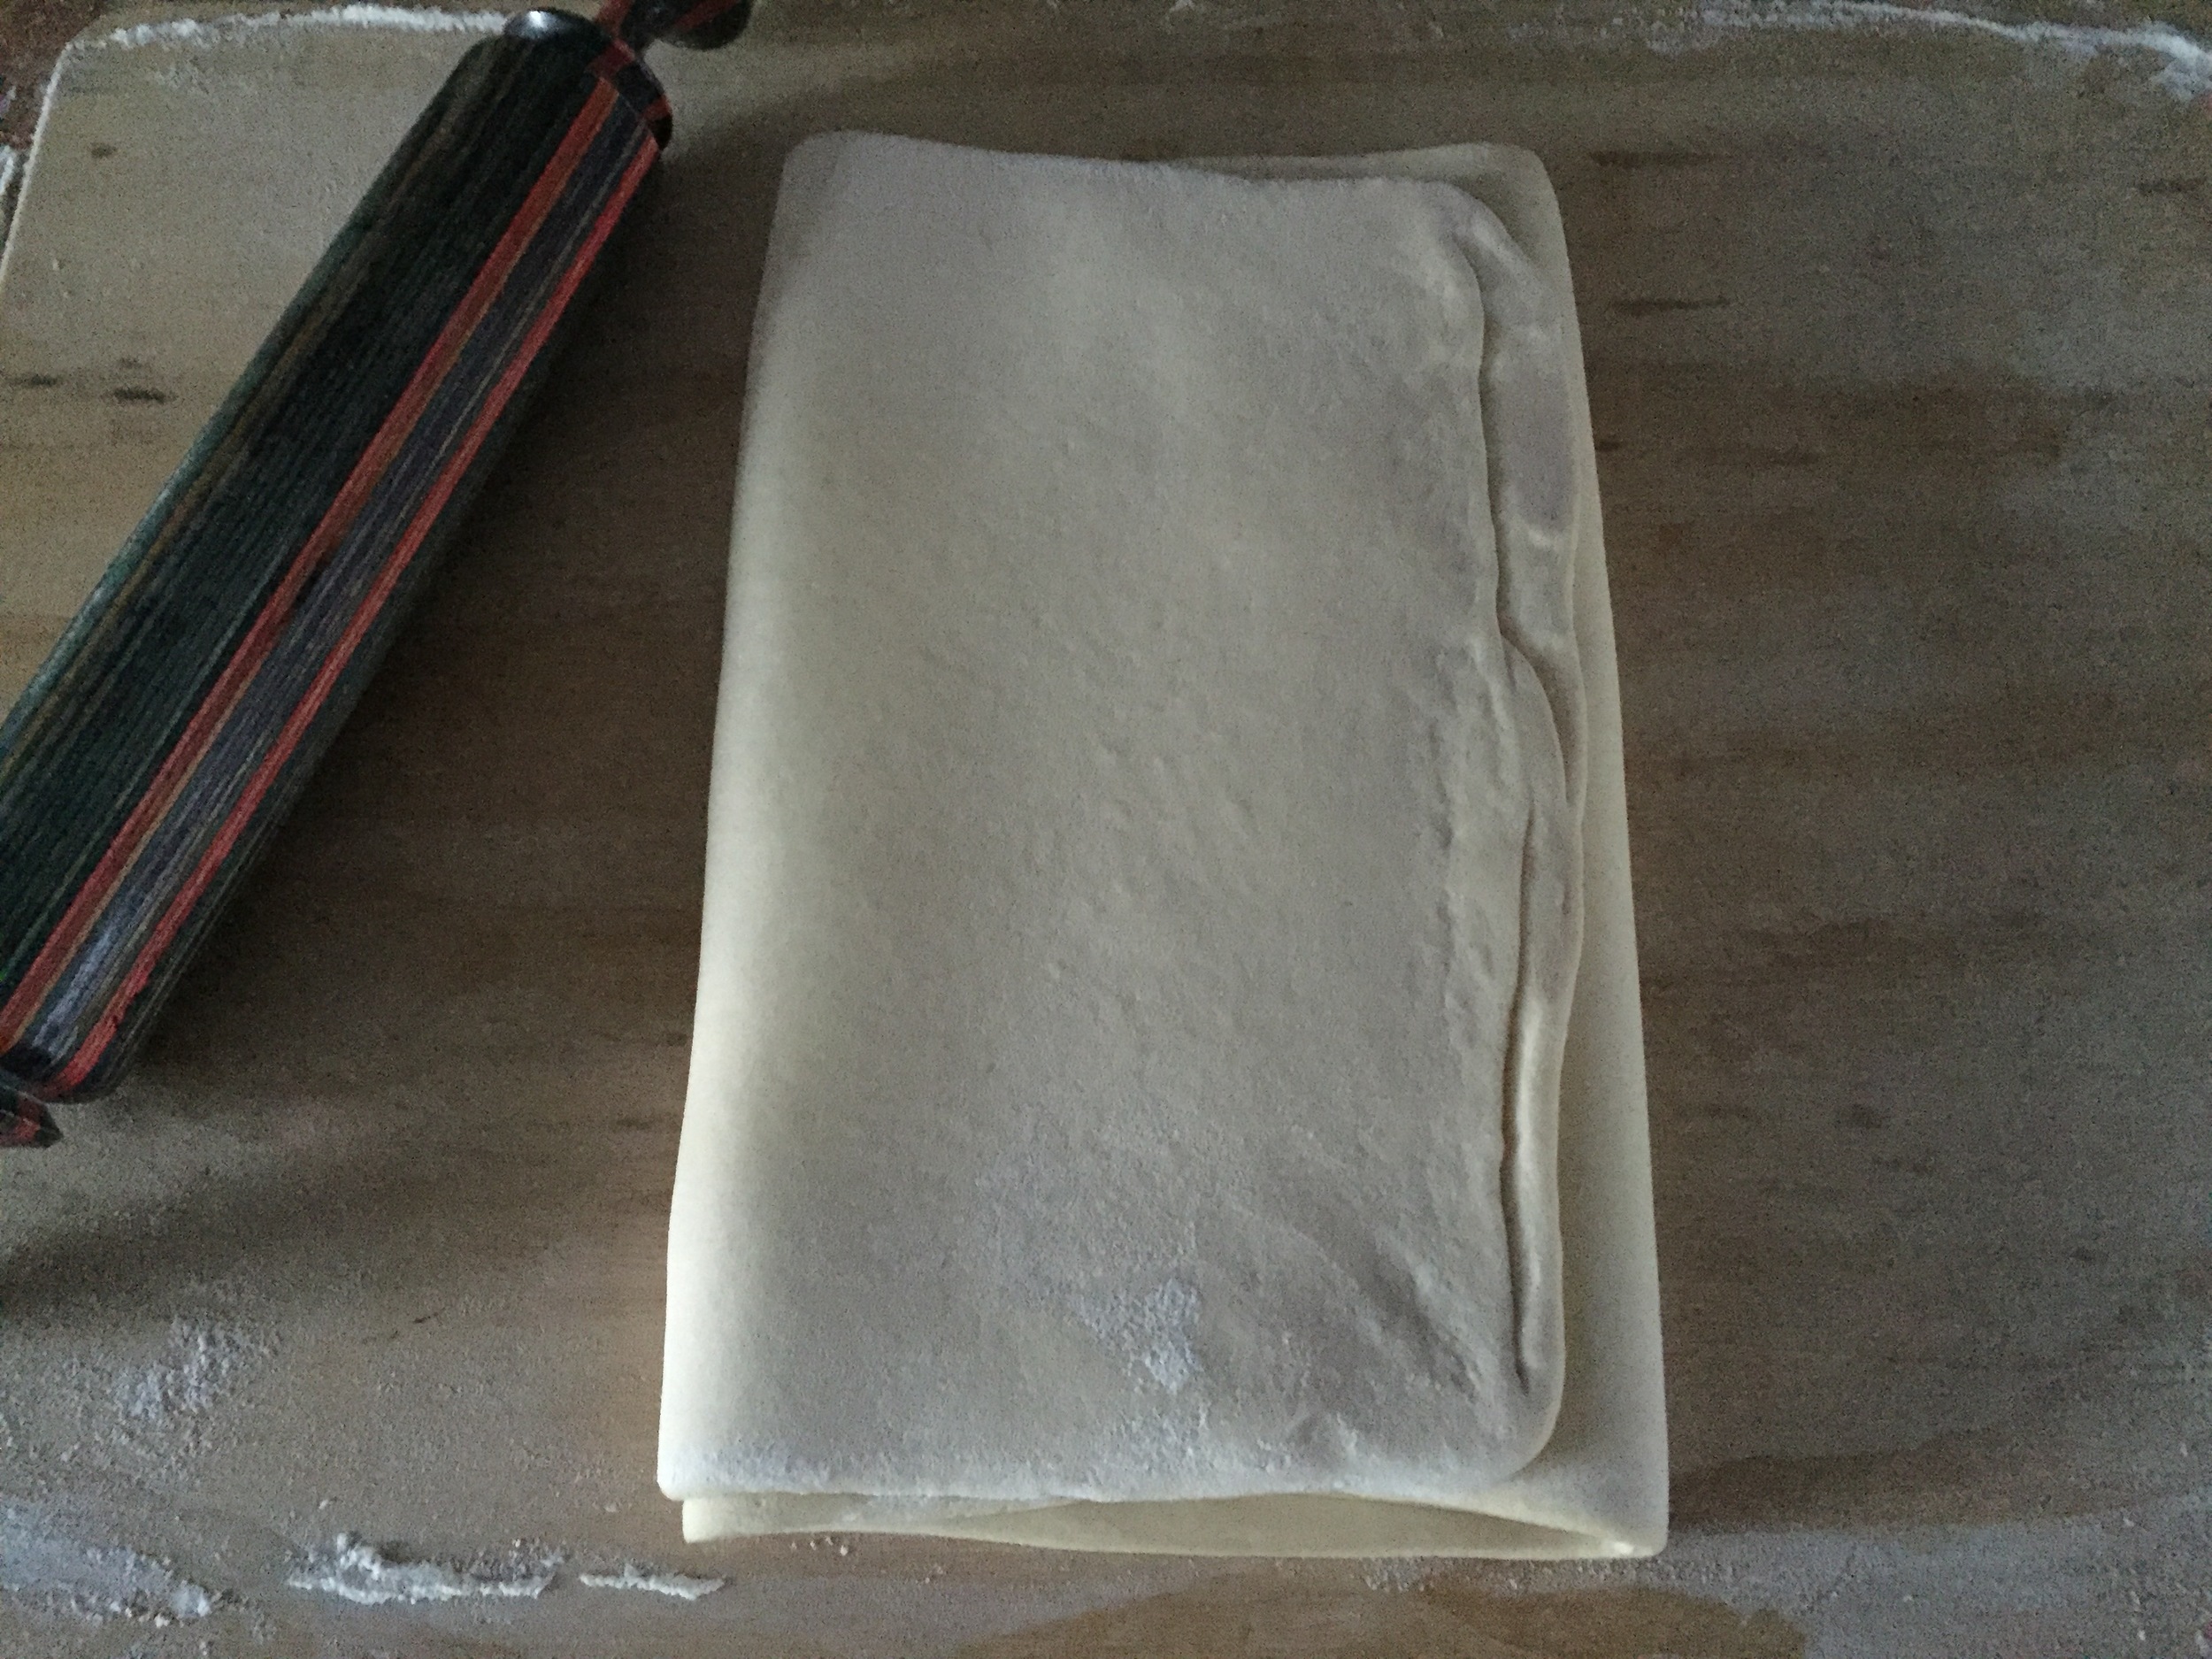
To laminate the dough, lightly dust a large work surface with flour. Remove the chilled dough and butter from the refrigerator. Unwrap the dough and roll it into a rectangle 28 inches long and 12 inches wide. Unwrap the sheet of butter and lay it over the dough, covering two thirds of the dough from the left side. Fold the uncovered third over the butter and then fold the left-hand third over the center, as if folding a tri-fold brochure. You now have a plaque. With your fingers, push down along the seams on the top and the bottom to seal the butter in the plaque.
Give the plaque a quarter turn so that the top and bottom seams are now to your right and left. Again, roll the dough into a rectangle 28 inches long and 12 inches wide and fold again in the same manner. Wrap in plastic wrap and place in the refrigerator for 1 1/2 to 2 hours to relax the gluten in the dough before you make the third fold, or ‘turn.’
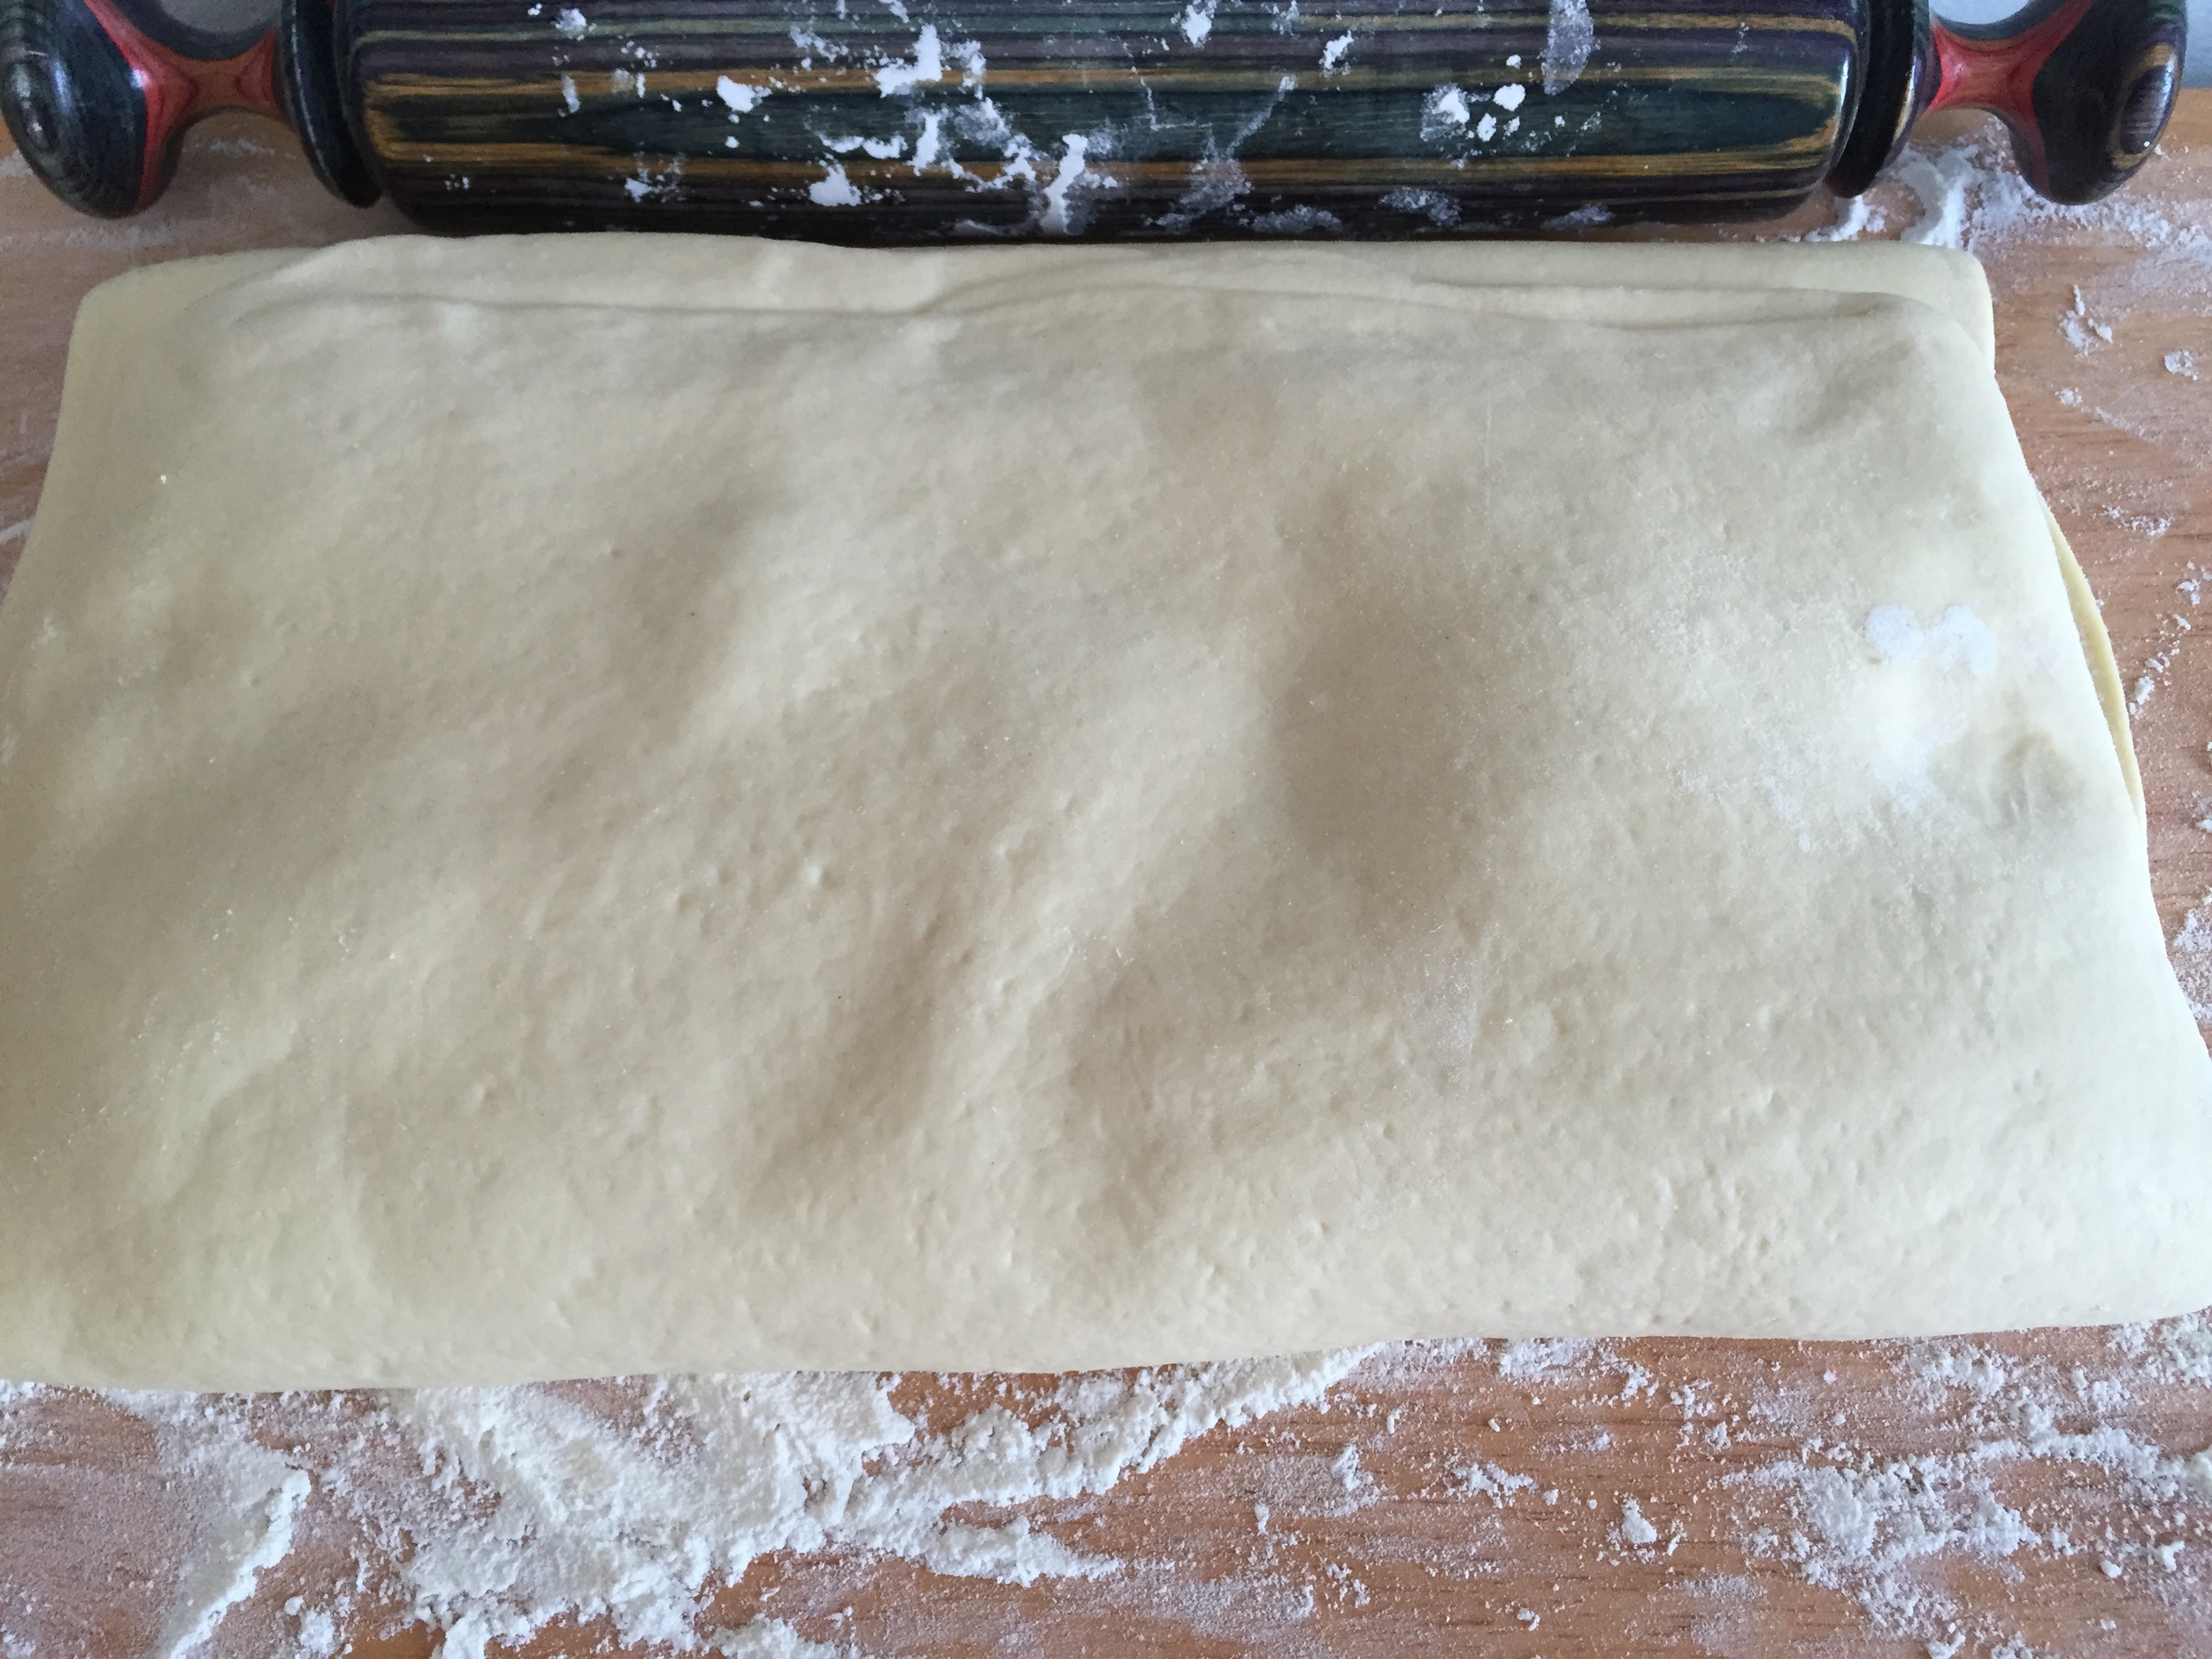
Clean the work surface, dust again with flour, and remove the dough from the refrigerator. Unwrap, place the dough on the floured surface, and again roll out into a rectangle 28 by 12 inches. Fold into thirds in the same manner. You should have a plaque of dough about 9 by 12 inches, and about 1 1/2 to 2 inches thick. Wrap in plastic wrap, place on a sheet pan, and place in the freezer to chill for at least 1 hour. If you plan to make the croissants the next morning, leave the dough in the freezer until the evening and transfer to the refrigerator. In the morning, the dough will be ready to roll out and form into croissants, proof, and bake. Or you can leave the dough in the freezer for up to 1 week, just remember to transfer it to the refrigerator to thaw overnight before using.
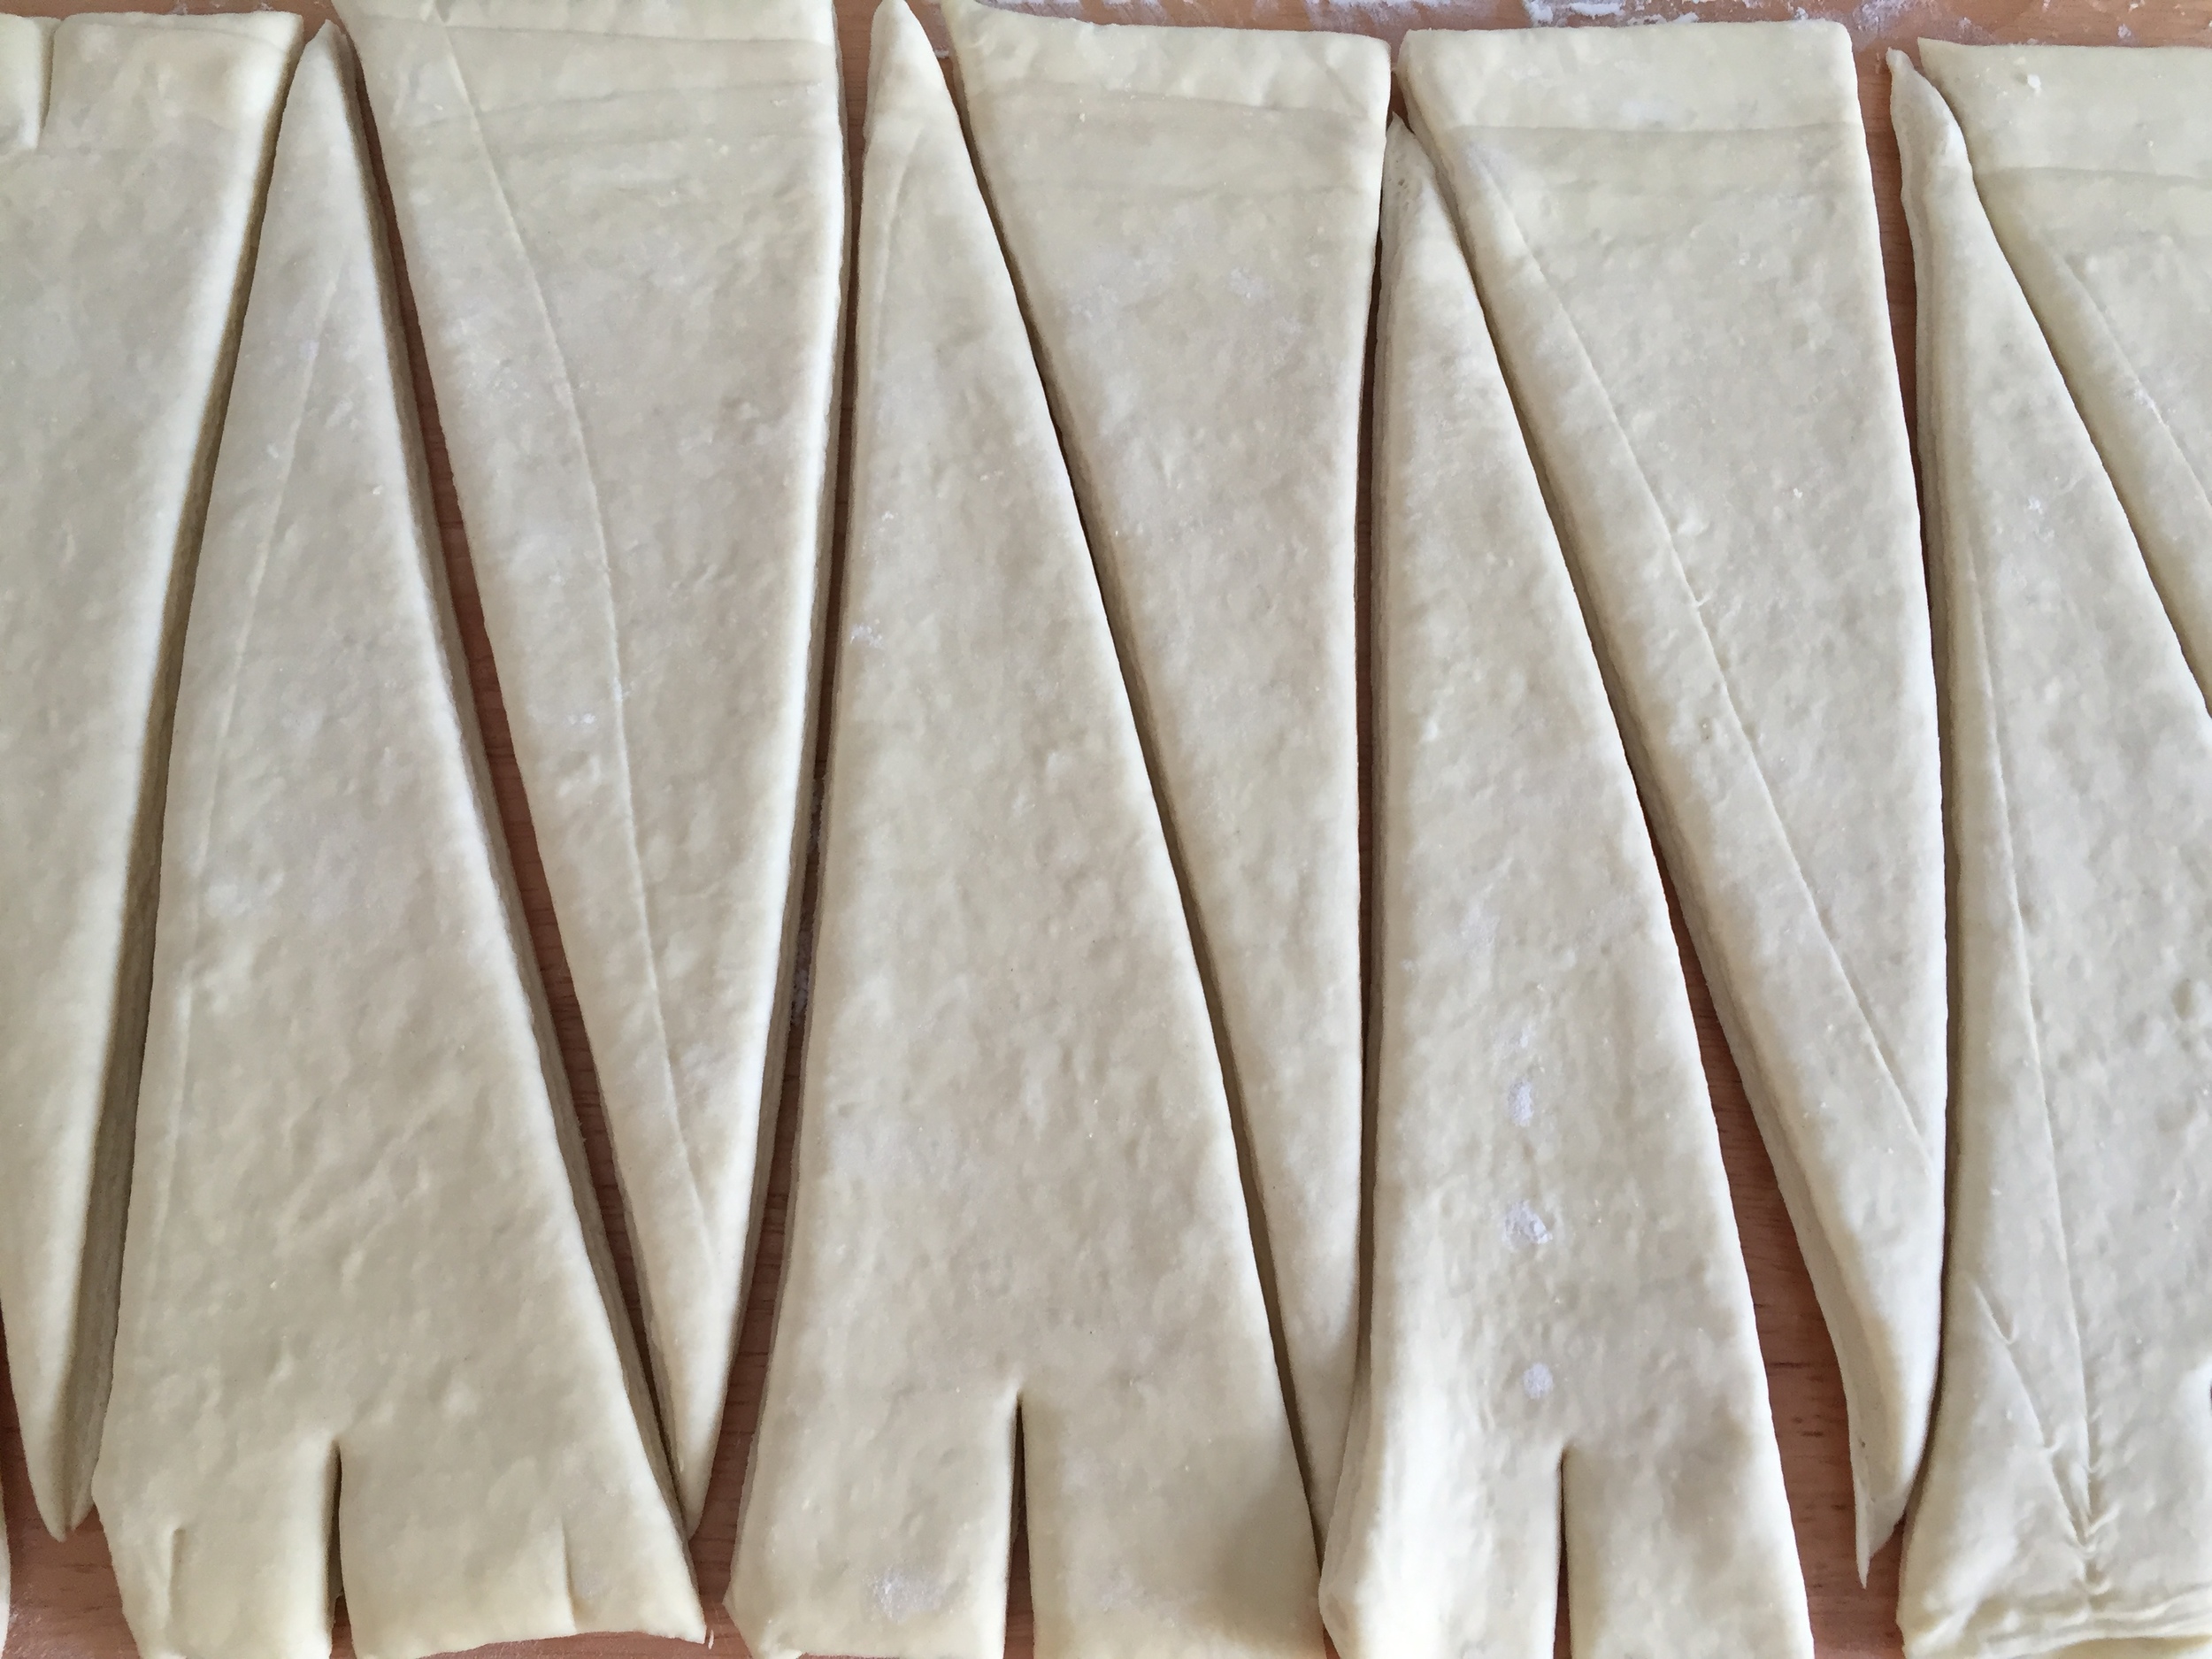
When you are ready to roll out the dough, dust the work surface again. Roll out the dough into a 32 by 12 inch rectangle, about 3/8- inch thick. Using a pizza wheel or chef’s knife, cut the dough into long triangles that measure 10 to 12 inches on each side and about 4 inches along the base. Using the pizza wheel or chef’s knife, make a 3/4-inch split in the center of each base.
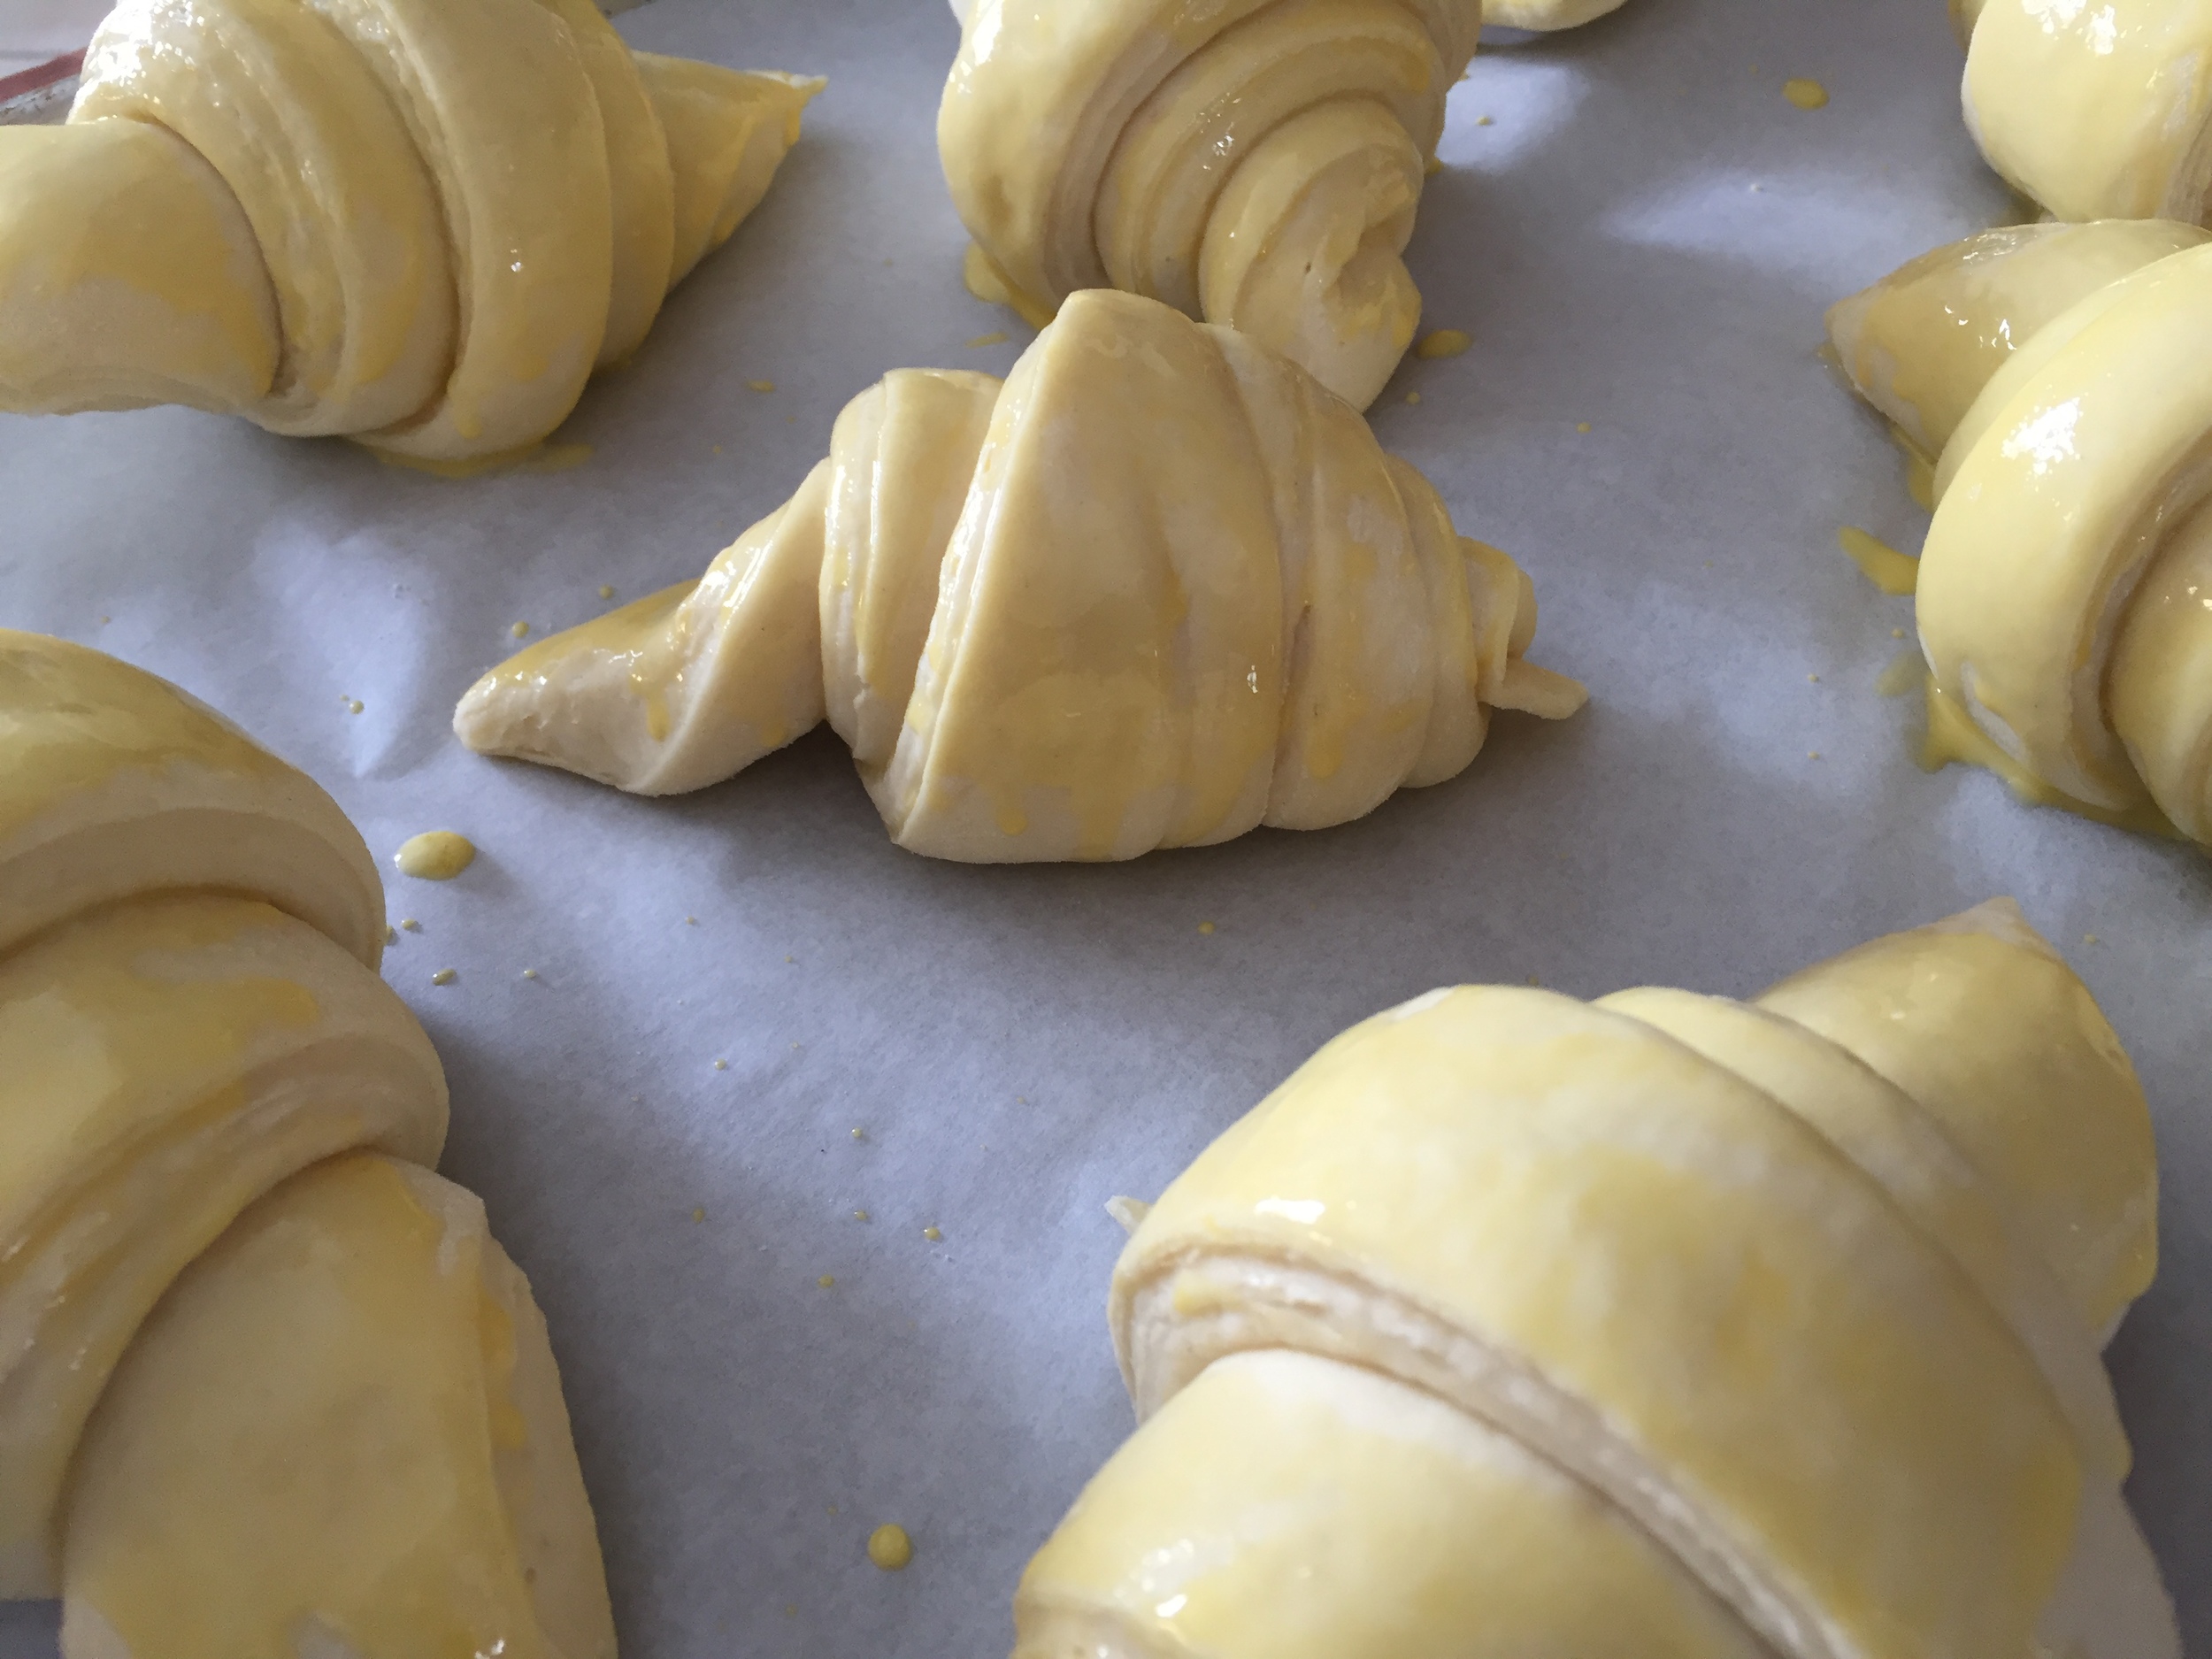
Line 2 half-sheet pans with parchment paper. You are now ready to shape your croissants. Starting at the split base, gently pull the base apart at the split, then roll the base toward the point. Grab the point with one hand and stretch it slightly and continue to roll, tucking the point underneath the rolled dough. Place it point-down on the prepared pan and continue rolling and shaping the remaining dough. Space the croissants evenly on the 2 prepared pans, leaving a few inches between to allow room for rising. Lightly drape a sheet of plastic wrap over each pan and set the pans in a draft-free area to let the pastries rise until they are puffy and doubled in size, about 2 to 3 hours.
Heat the oven to 425 for 20 to 30 minutes.
About 10 minutes before baking, prepare the egg wash. Whisk the egg yolks with the cream and salt until you have a pale yellow mixture. Gently brush the egg mixture onto the pastries, being careful not to allow the egg mixture to drip onto the pan. Let the wash dry for about 10 minutes before baking.
Place one pan of croissants in the oven and reduce the temperature to 400. Rotate the pan, front to back, after 10 minutes to ensure even baking. Continue baking for 6 to 10 minutes longer, until the pastries are deep golden brown on the top and bottom, crisp on the outside, and feel light when they are picked up, indicating that the interior is baked through.
Remove the croissants from the oven and let them cool on a wire rack.
Increase oven temperature to 425 and repeat baking instructions for the second pan.
Enjoy the croissants warm from the oven or at room temperature. Store any leftovers in an airtight container at cool room temperature for up to 3 days. Recrisp them in a 375 degree oven for 6 to 8 minutes.
Makes 16 to 18 golden croissants