April's Kitchen Counter

  • About
  • Recipes
    • Wide Awake
    • In Between
    • Great Salads
    • Soup and Bread
    • Dinner Table
    • Sugar and Spice
    • Pantry
    • Roaming
    • 20 Questions
  • Blog
  • Shop
  • Events

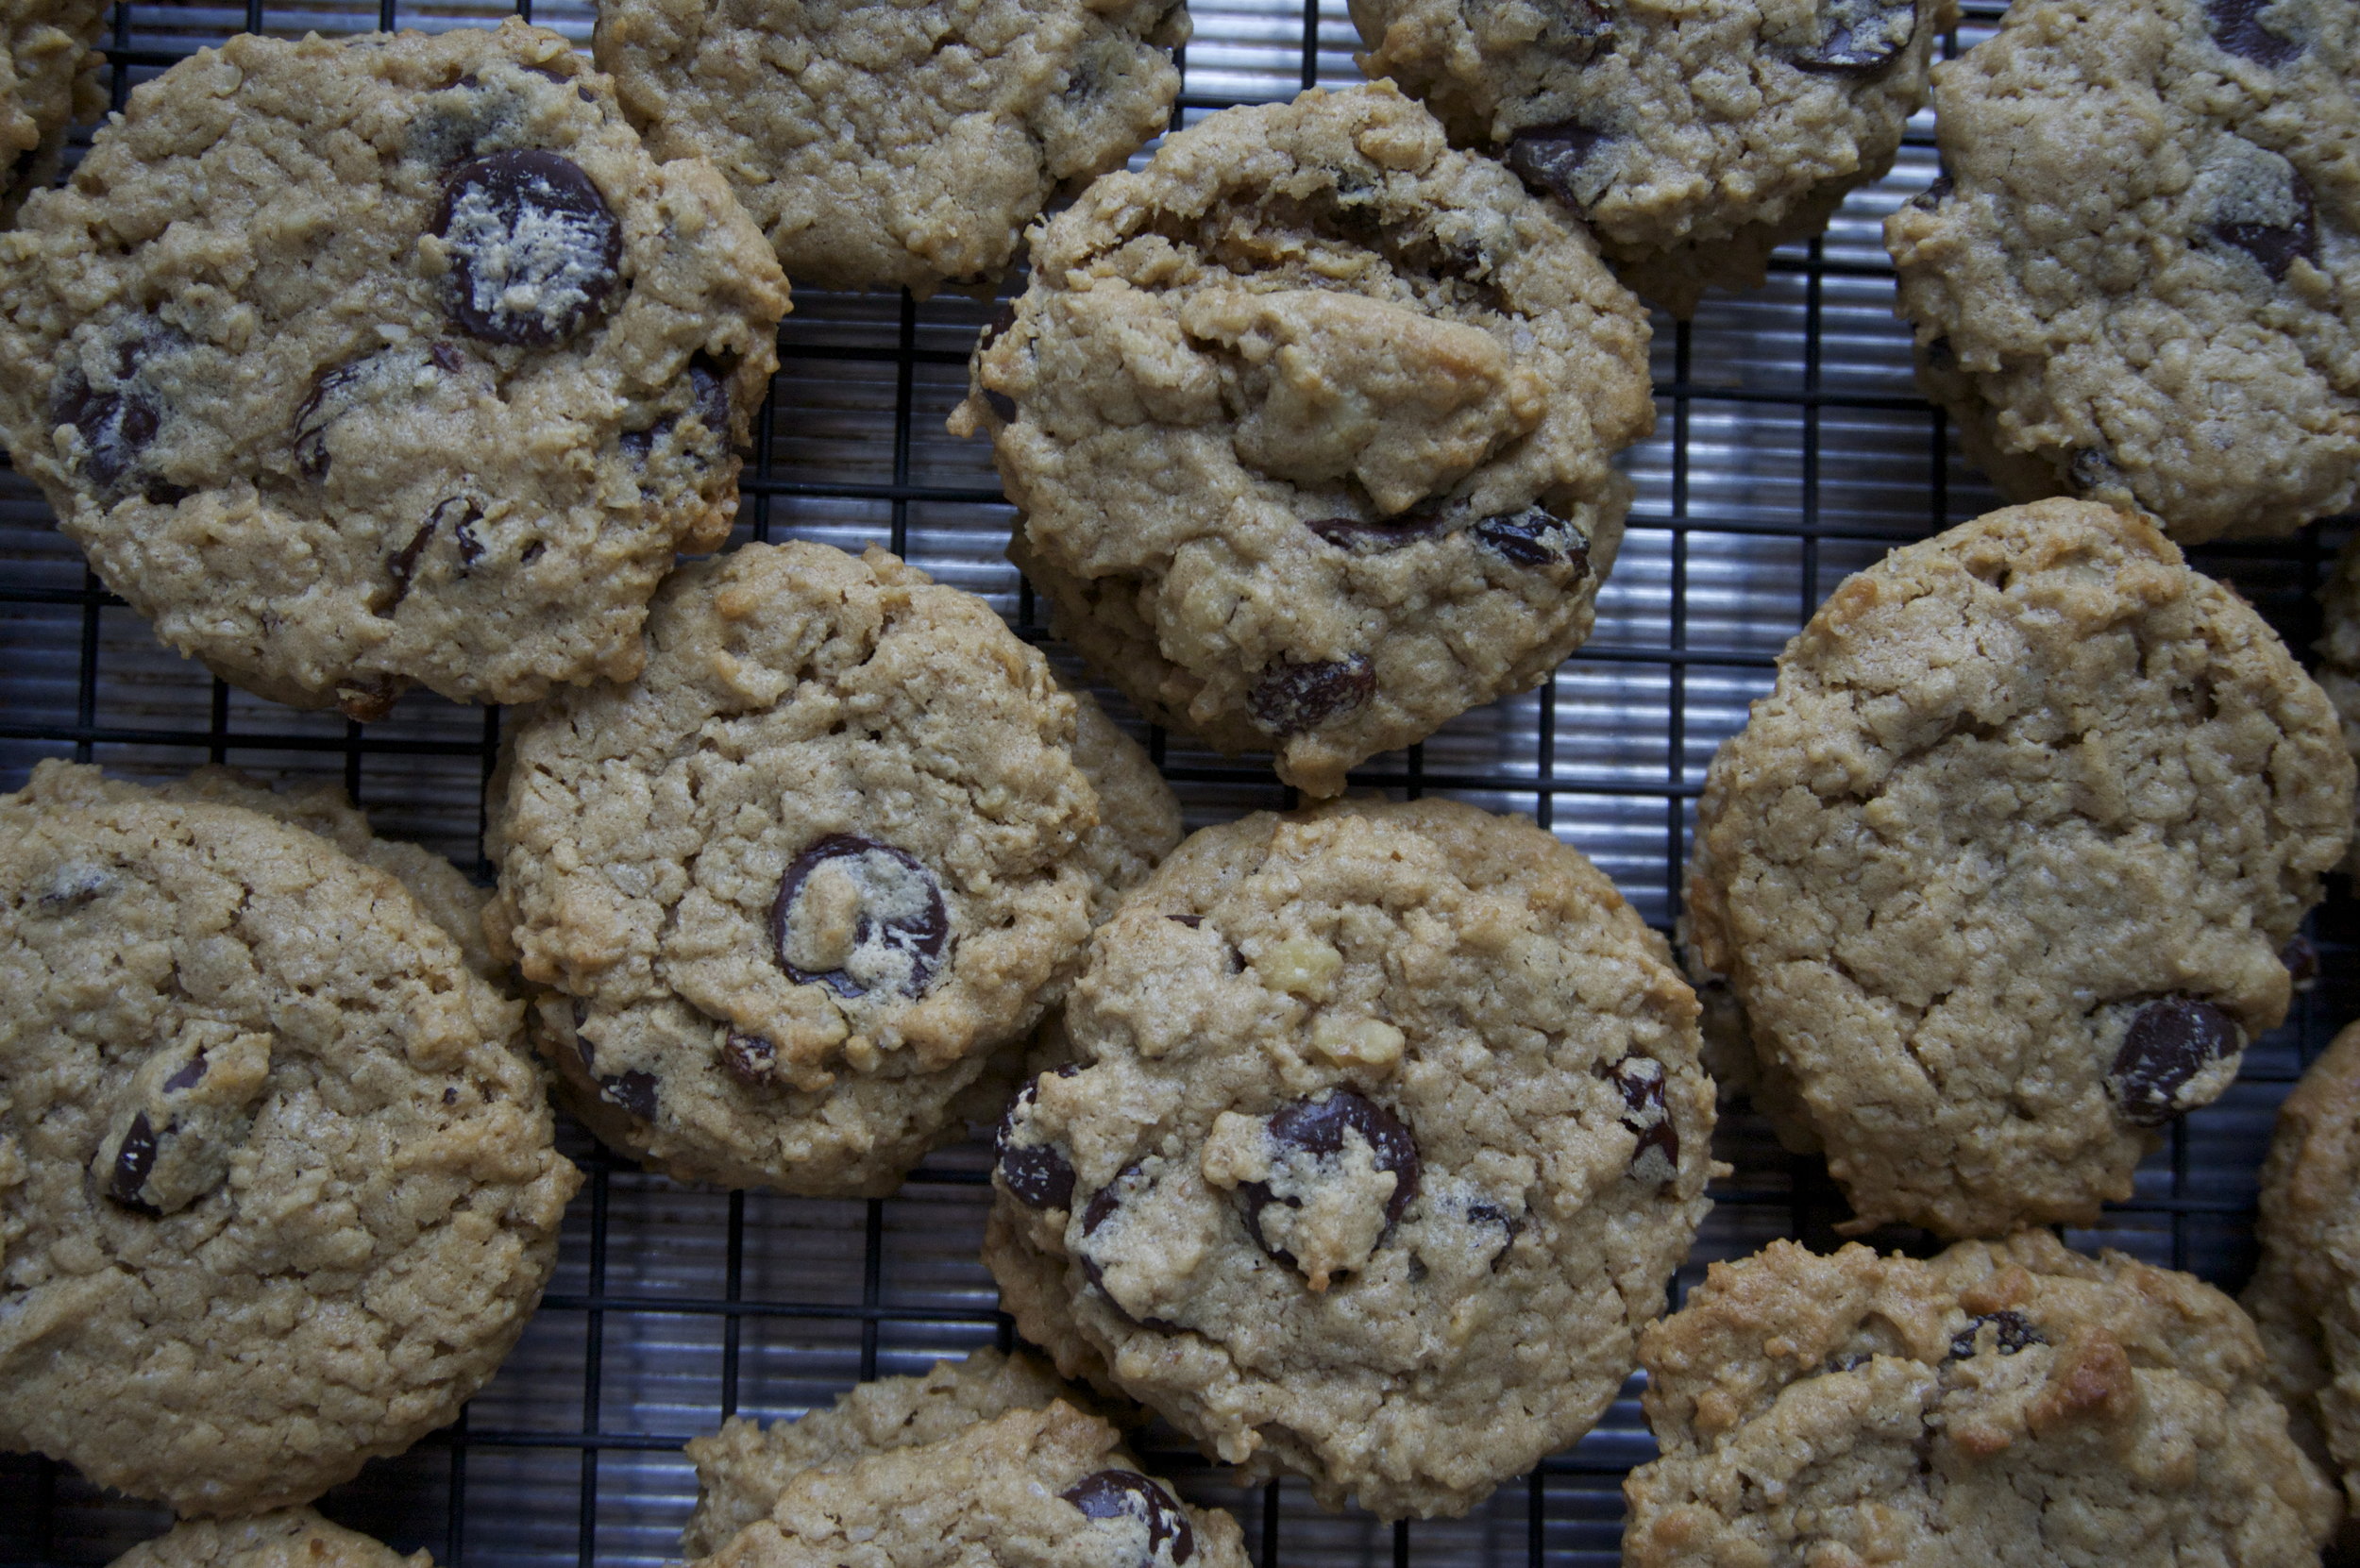
Trifecta! Cookie Perfection!

August 02, 2017 by April Hamilton in Sugar and Spice

Quick! What's your favorite kind of cookie? Is it a golden, bumpy, chocolate studded masterpiece? Crumbly cross-hatched peanut butter? Virtuous oatmeal cookie with raisins and a punch of cinnamon? I'm here to announce that you don't have to choose. Problem solved! 

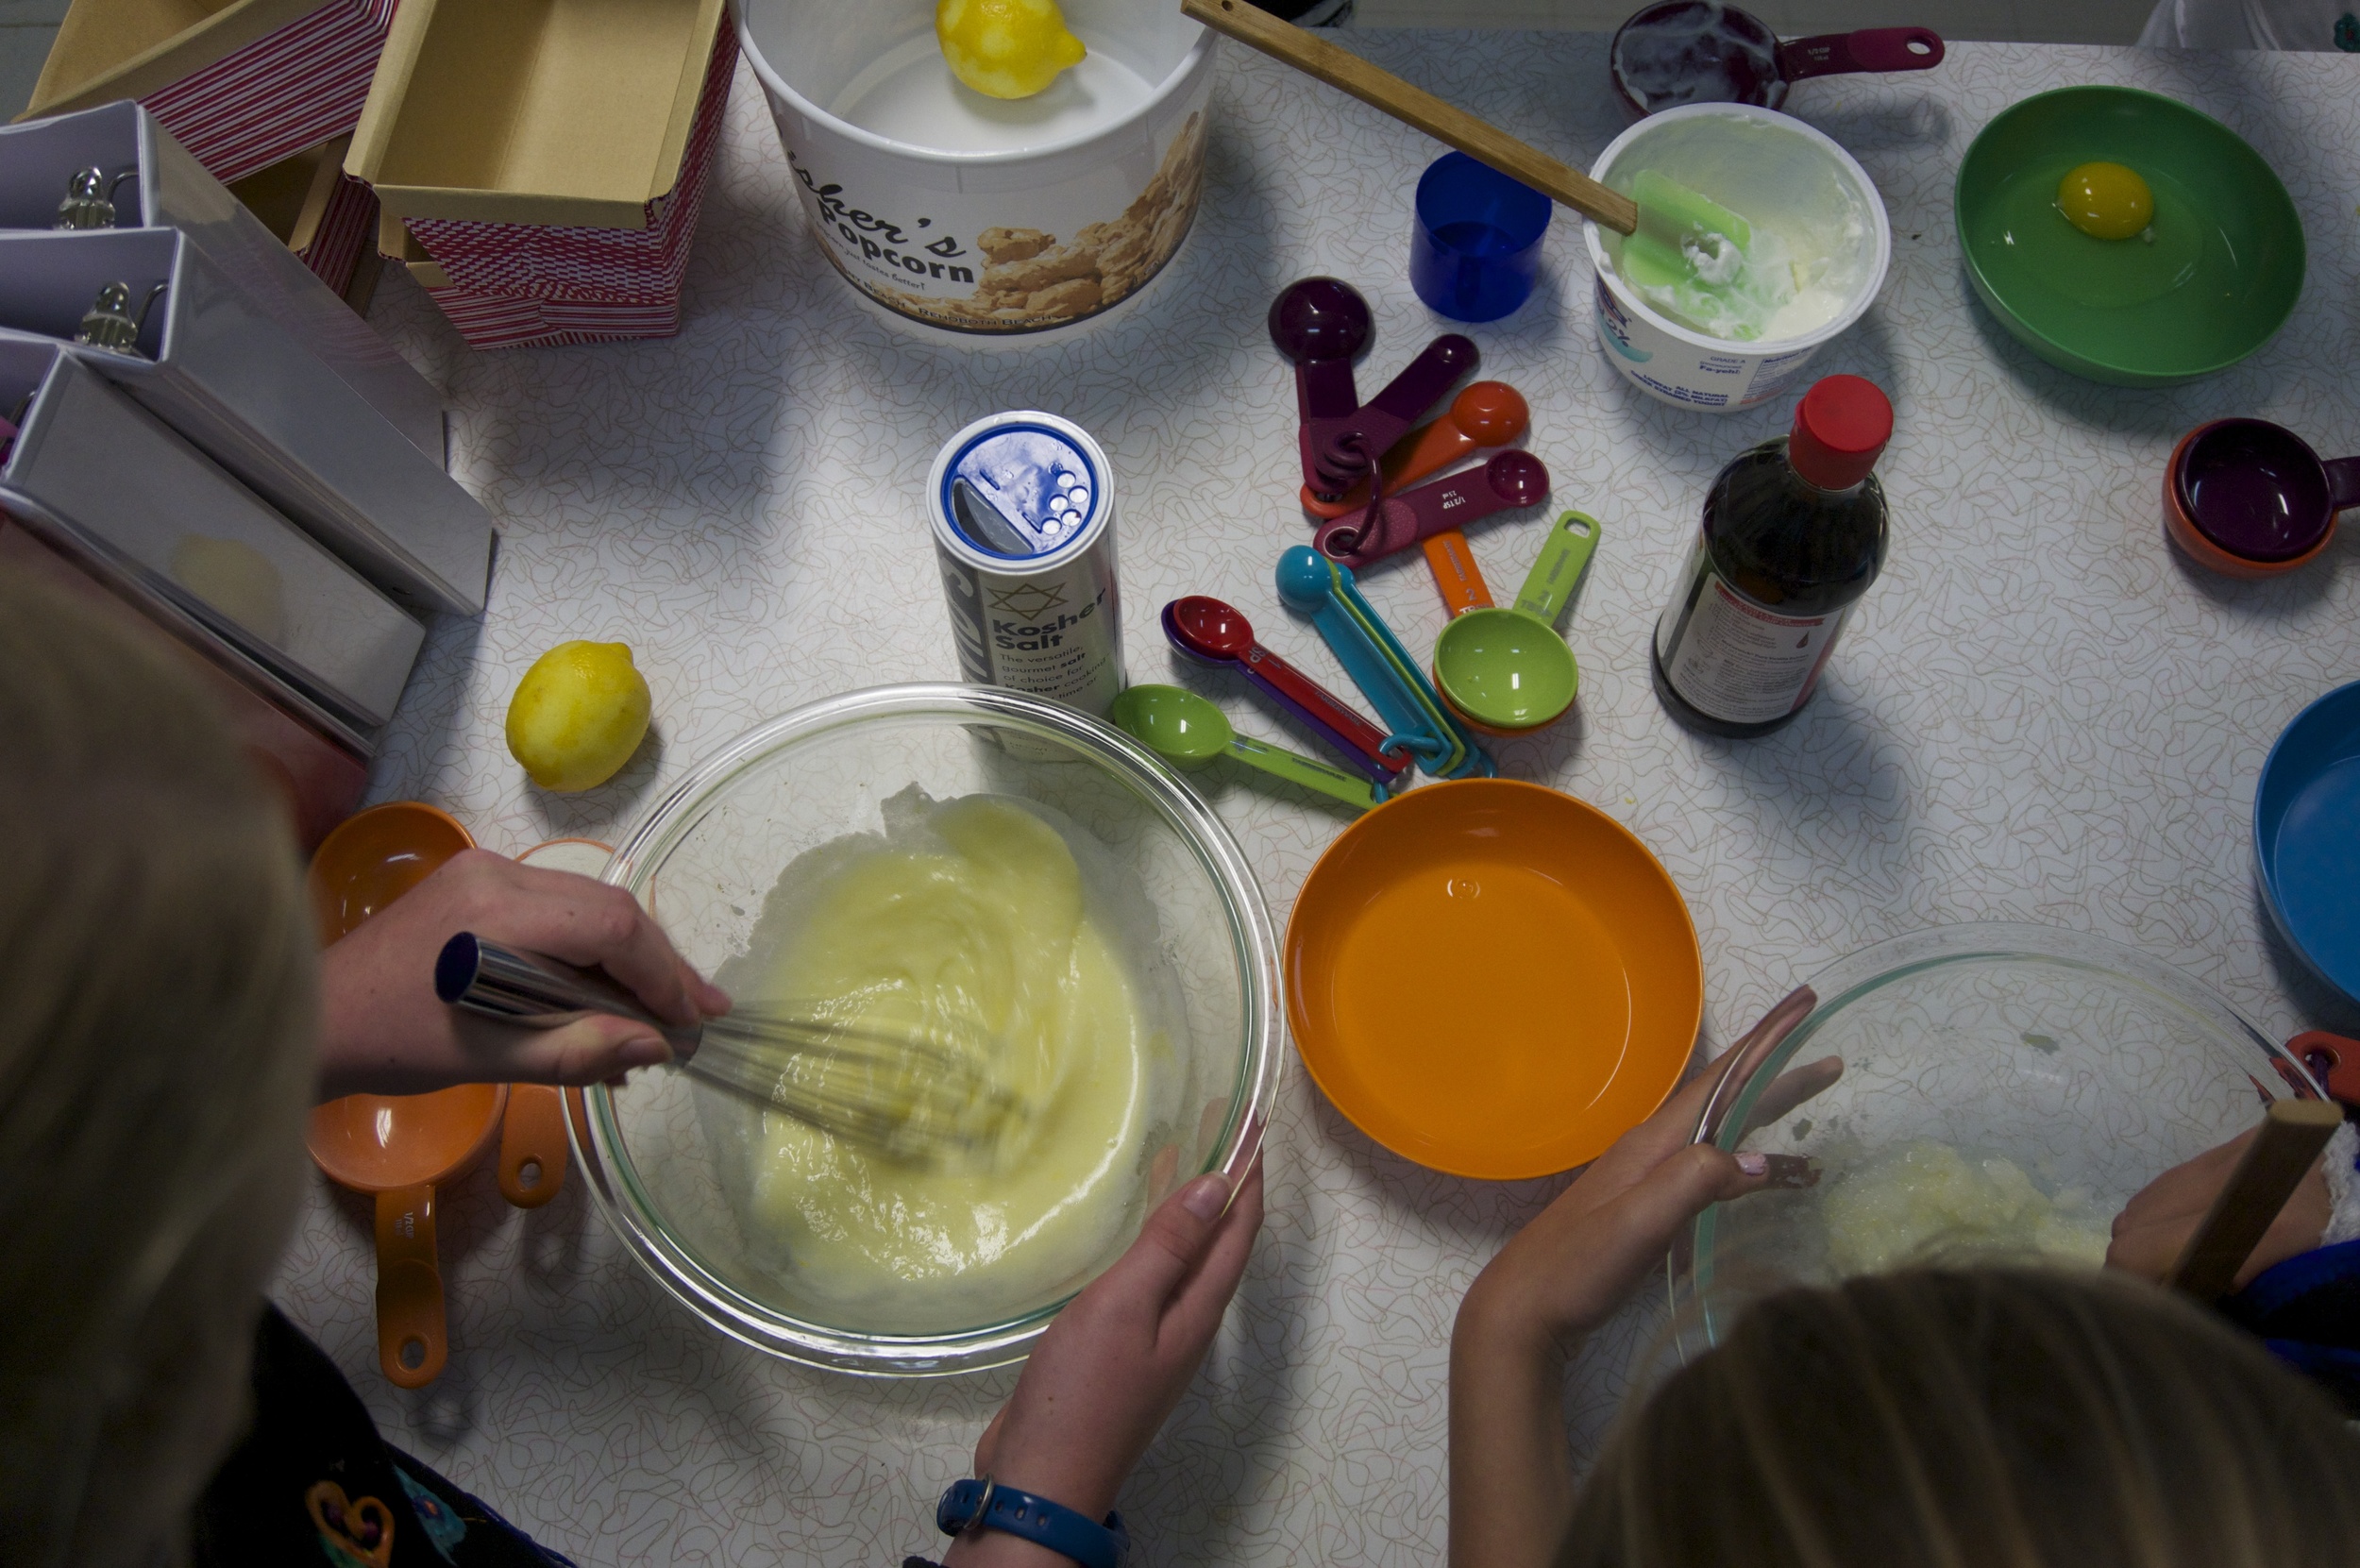
I present to you Three Cookies in One, a Trifecta of cookie perfection. It's every good thing held together with a little bit of dough. Perfect, right?! What's even better is you can mix your dough, bake one pan of cookies to kill the craving, then save the rest to bake later. I usually put the mixing bowl full of dough right in the fridge, then try to muscle it out with a scoop. I've broken a scoop or two this way and bent some of my spoons. Oh the horror!

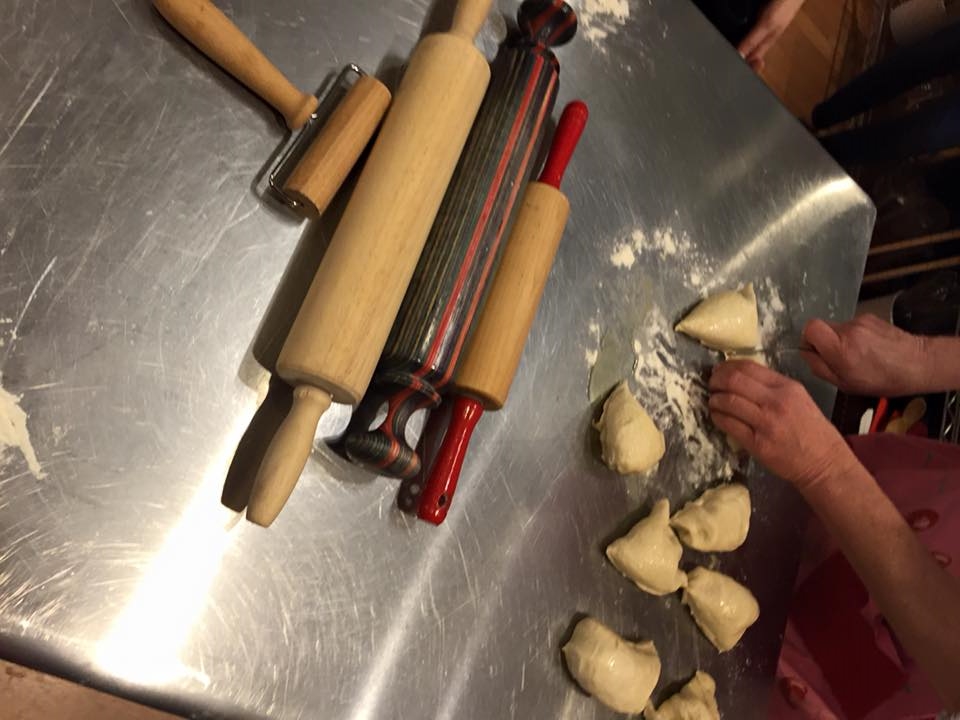
This time, I scraped the dough out into a shallow container, snapped on the lid, and the next day,  the dough popped right out of the container in a perfect slab of dough. AHA! I cut it into squares with my bench scraper (of course a knife will do the trick) and roughly formed the squares into balls. Into the oven and voila! The revelation was so exciting I just had to share.

When I described my discovery to my friend Ashley, she looked at me like I was insane, confessing she eats the dough raw. We all have our weaknesses. Happy Cooking!

Three Cookies in One (aka Trifecta Cookies)

  • 1 stick butter (1/2 cup), slightly softened
  • 1 cup peanut butter
  • 1/2 cup sugar
  • 1/2 cup brown sugar, packed
  • 3/4 teaspoon coarse salt
  • 2 eggs
  • 1 teaspoon vanilla extract
  • 1/4 cup PB powder*
  • 1 teaspoon cinnamon
  • 1 teaspoon baking soda 
  • 3 cups rolled oats
  • 1 cup dark chocolate chips
  • 1/2 cup raisins or dried cherries
  • 1/2 cup chopped walnuts or peanuts

HEAT the oven to 350. CREAM the butter and peanut butter together and mix in the sugars and salt. MIX well and add the eggs, vanilla, PB powder, cinnamon and baking soda, mixing to incorporate. ADD the oats, chocolate chips, raisins, and walnuts and stir to blend. DROP teaspoonfuls of the dough onto parchment-lined baking sheets about 2 inches apart. BAKE for 10 minutes until golden (for a chewier cookie) or 12 minutes for crunchy cookies. COOL on the sheets before storing in an airtight container.

Counter Intelligence tip! Scrape your dough out into a shallow container with a snug-fitting lid and press it into an even layer. Snap on the lid and chill it overnight or up to 3 days. Turn the slab of dough out onto a cutting board and cut into small squares (looking for about 48 cookies total). Shape the dough squares into balls and bake as above. (If the dough is still cold--Louisiana kitchens tend to warm the dough quickly!--the cookies may need an extra minute or two).

Makes about 4 dozen


August 02, 2017 /April Hamilton
cookies, Easy for kids
Sugar and Spice
1 Comment
Julia may not have had the luxury of the fabulous kitchen tool known as the Microplane, but it's an essential in today's kitchen

Julia may not have had the luxury of the fabulous kitchen tool known as the Microplane, but it's an essential in today's kitchen

Countdown to chez Julia: 99 Days to Go--let them eat cake!

June 18, 2016 by April Hamilton in Sugar and Spice

“The way to entice people into cooking is to cook delicious things.”--Yotam Ottolenghi

Here is a condensed version of an actual conversation between a couple of savvy preschoolers, as told to me by a friend:  One child announces “My family is counting calories and carbs,” and her pint-sized playmate answers, “my family doesn’t count calories OR carbs.  We count chemicals.”

I gasped when I heard this.  It’s so exciting to know that kids are talking about what’s in their food.  The lightbulb is on and these dialogs are happening in preschool circles and hopefully around the kitchen table. Mindfulness of caloric intake is a necessity of life, but the quality and source of those calories is what really matters.  In this age of speed eating and ‘get thin quick’ shakes and such, we have lost sight of cooking real food with fresh ingredients.

Everywhere we turn, packaged food is available touting claims of ‘light’ or ‘low carb’ yet their labels reveal tons of unpronounceable ingredients, or in other words, chemicals. You can grab something off the grocery shelf or spend some quality time in the kitchen baking something really satisfying. If you don’t fancy yourself a baker, or absolutely run in fear of cooking from scratch, you MUST make this fabulous cake.

I discovered this recipe a few years back while thumbing through a Bon Appetit magazine.  In the description it is reported to be ‘the first dessert French children learn to make.”  I suggested that my daughter make it and she whipped it together effortlessly.  It has been a staple ever since.

You start with basic baking pantry ingredients and add yogurt which gives the cake a delicate richness.  Lemon zest makes it tangy, and the technique of first blending granulated sugar with the lemon zest helps extract the flavorful oils, giving a pronounced lemon note.  The mixing is totally uncomplicated--all you need is a whisk.

Let them eat cake! Have a baking party -- the kids can take their creations home in a festive paper 

Let them eat cake! Have a baking party -- the kids can take their creations home in a festive paper 

Before you know it, the silky batter is ready for the oven and suddenly the whole house is filled with the delicious aroma of homemade cake.  No unpronounceable ingredients, just enticing goodness. Invite the neighborhood kids over for a little baking session, they will be hooked.

FRENCH YOGURT CAKE

It has been reported that this is the first recipe that children in France learn to make.  It’s that easy and equally delicious! Cardboard loaf pans from the cake decorating section work well and make this a perfect cooking party activity.

  • butter for the pan
  • 1 1/2 cups all-purpose flour, plus extra for the pan
  • 2 teaspoons baking powder
  • 3/4 teaspoon kosher salt
  • 1 cup sugar
  • 1 tablespoon finely grated lemon zest
  • 3/4 cup whole-milk Greek yogurt
  • 1/2 cup vegetable oil
  • 2 large eggs
  • 1/2 teaspoon vanilla extract

Preheat oven to 350°F. Coat a standard (8 1/2x4 1/4") loaf pan with with a smear of soft butter. Dust with flour; tap out excess. Whisk the flour, baking powder, and salt in a medium bowl. 

Using your fingers, rub the sugar with the lemon zest in a large bowl to release the flavorful lemon oil. Add the Greek yogurt, vegetable oil, eggs, and vanilla extract; whisk to blend. Stir in the flour mixture just to blend. Pour batter into prepared pan; smooth top. Bake until top of cake is golden brown and a tester inserted into center comes out clean, 45-55 minutes. Let cake cool in pan on a wire rack for 15 minutes. Invert onto rack; let cool completely. DO AHEAD: Can be made 3 days ahead. Store airtight at room temperature

Double the recipe to make a bundt cake for a crowd!  I like to use half butter in the double recipe--barely melt the butter and add with the oil

June 18, 2016 /April Hamilton
Easy for kids, simple cooking ideas, cooking party
Sugar and Spice
Comment

Sweet Potato Sunset and Handmade Pita

March 07, 2016 by April Hamilton in In Between

Cooking is contagious. The joy spreads with each swipe of the rolling pin, the aromatherapy of a burst of lemon, the chime of the oven timer. Imagine the joy spreading to children, the sum of their ages equaling less than half of mine. I’m in heaven.

“Keep the menu simple with plenty of hands-on to keep the energetic group focused,” I reminded myself as I planned the class. Pita bread and some colorful roasted vegetables seemed like the right fit. During the growing season, these petite chefs are gardeners with the SCRATCH project, an after school “grow to eat, eat to live” program in Huntington. Their sweet potato harvest sold out at The Wild Ramp and they would be planting summer squash next. 

The dough doubled on the drive from Charleston to Huntington, a quick hour west on the interstate. Veronica unlocked the door. “Welcome to Huntington’s Kitchen!” This teaching kitchen, originally installed by Jamie Oliver in 2009 is a cooking instructor's fantasy: A full wall of ovens plus four prep areas and one for the instructor, each equipped with a cooktop and kitchen tools. I am in my element and I'm committed to the commute. I had a half hour to unpack and preheat the ovens before the tempo increased. The pizza stone and cast iron griddle needed to be blazing hot for the pita, and the second oven was readied for roasting the vegetables.

Huntington's Kitchen is now a collaborative teaching kitchen which partners Cabell-Huntington Hospital and Marshall University Department of Dietetics to enhance, promote, and improve healthy eating.

Huntington's Kitchen is now a collaborative teaching kitchen which partners Cabell-Huntington Hospital and Marshall University Department of Dietetics to enhance, promote, and improve healthy eating.

Suddenly it’s showtime and when you are surrounded by hungry kids in the kitchen, you can’t miss a beat. I show them why you have to poke holes in the whole vegetables before roasting them, then slide the sheetpan loaded with sweet potatoes and zucchini into the oven, out of sight.

Now for the dough. They saw a puffy globe flop onto the prep table. We got to discuss what it looked like before the drive. It was a softball, way down inside the bowl, now its crown reached the plastic wrap. We use a butter knife to cut it in half, then each half into two again. And again. It’s math without a worksheet. 

Scratch photo 5.jpg
Scratch photo 3.jpg
Scratch photo 2.jpg

Each of our eight bits of dough land in a set of tiny hands and are shaped into large golfballs, pressed flat in a sprinkle of flour, and rolled out into a thin pancake. Then you take away one, more math, and you have seven -- the five second rule does not apply, but laughter prevails. In a perfect world, there would be a set of identical rolling pins, but we make do, sharing our mis-matched collection. 

Two at a time and for just three long minutes our flatbreads bake on our hot stone and griddle, puffing into a mylar balloon or blistering like a tortilla, depending. Then we wait. With wide eyes, the pint-sized bakers can witness the steam escaping from their rounds of handmade bread and it’s time to make something delicious for dipping.

Scratch photo 8.jpg
Scratch photo 7.jpg
Scratch photo 9.jpg

We smash, then peel, whole cloves of garlic, and pass around lemon wedges for squeezing. We have to fish out the seeds, enough for the SCRATCH kids to plant an entire citrus grove. Next time we will use a strainer.

The roasted vegetables are now just cool enough to handle and we pass around the knives, butter knives, with a quick tutorial. Like a color by number, we toss them into the food processors, first green with its lemon and garlic notes, then the sweet potato with a hot pepper accent.

Scratch photo 10.jpg
Scratch sweet potato.jpg

We spoon our concoctions into ramekins and break our bread. I watch in awe as they tear their pita and rake it through their palettes of vegetable dips. “I can’t believe we made bread and got to use a knife!” Junior, the lone 5-year old announced at the table. 

I think he caught the bug.

Pita Bread

Adapted from David Tanis First Time's the Charm with Fresh Pita
Makes 8
  • 1/4 cup whole wheat flour
  • 2 1/2 cups unbleached flour, plus extra for rolling
  • 2 teaspoons 'instant' yeast
  • 1 teaspoon coarse salt
  • 1/2 teaspoon sugar
  • 1 cup water
  • 2 tablespoons olive oil, plus extra for the bowl

Combine the whole wheat flour, unbleached flour, yeast, salt, and sugar in the work bowl of a food processor and pulse a few times to blend. Add the water and olive oil through the feed tube and blend until a smooth ball of dough forms.

Let the dough rest in the work bowl for 10 minutes and check the consistency. Dough should be soft but not sticky. If it is sticky, add a bit of flour, 1 tablespoon at a time and pulse to blend. If the dough is too firm, add a bit of water, 1 teaspoon at a time. Blend the dough for 30 seconds and turn out into a large-ish bowl that has been lightly oiled with olive oil. Cover the bowl with plastic wrap and set aside to rise in a warm-ish place until doubled in size, about one hour.

Place a baking stone or large cast iron griddle into the oven and heat the oven to 475.

Lightly flour a work surface and turn the pillow of dough out onto the flour. Divide the dough into eight equal pieces, roll them into rough golfball shapes, then press each into a disk (all this handling is the kid-equivalent of kneading). Roll each disk into a 6-inch circle and feel free to discuss the merits of geometry.

Carefully place one dough circle at a time onto the heated stone (or griddle) and bake for two minutes. Turn over with tongs and bake for one minute on the second side. Remove each pita to a basket or plate while you continue baking the whole batch.

Sweet Potato Sunset Dip

a blend of roasted sweet potato and a little spice
Makes about 3 cups
  • 3 medium sweet potatoes, scrubbed and pricked with a fork
  • 2 tablespoons olive oil
  • 2 tablespooons tahini
  • 1 clove garlic
  • 1/2 jalapeno pepper
  • ½ teaspoon salt (or more to taste)
  • 1/4 cup water as needed to 'thin' the dip

Heat the oven to 400. Place the sweet potatoes on a baking sheet and bake for about one hour, until soft (gently squeeze with a pot holder to check). Remove from the oven and let cool for a few minutes. Peel the sweet potatoes and roughly chop them, then place into the work bowl of a food processor. Add the olive oil, tahini, garlic, jalapeno, and salt. Blend until smooth, adding water as needed to achieve the desired consistency.

Transfer to a bowl and serve with pita for dipping.

Zucchini-Greeny Dip

adapted from LifeLab 'Garden Sprouts Camp Recipes'
Makes about 3 cups
  • 5 medium zucchini, scrubbed and pricked with a fork
  •  3 tablespoons olive oil, plus more for garnish
  • 2 tablespoons tahini
  • 1 clove garlic, chopped
  • 1/4 cup lemon juice
  • ½ teaspoon salt (or more to taste)

Heat the oven to 400. Place the zucchini on a baking sheet and bake for about 45 minutes, until soft (gently squeeze with tongs to check). Remove from the oven and let cool for a few minutes. Trim off the stem end and roughly chop them (use a large cutting board to contain all the juice). Scoop the zucchini into the work bowl of a food processor. Add the olive oil, tahini, garlic, lemon juice, and salt. Blend until smooth with a few bits of the green skin freckling the dip.

Transfer to a bowl and drizzle with a bit of olive oil for garnish. Serve with pita for dipping.

Tremendous thanks to

  • West Virginia State University Extension and SCRATCH Project Production Coordinator Valerie Bandell
  •  Huntington's Kitchen  
  • Tori Lavender, for quietly capturing the scene with her photos
  • Elizabeth Wirts, my assistant for this class and a volunteer with George Washington High School Healthy Living Club
March 07, 2016 /April Hamilton
Easy for kids, healthy recipes, garden recipes
In Between
Comment

Welcome to my Playground

December 10, 2015 by April Hamilton

“Learn how to cook--Try new recipes, Learn from your mistakes, Be fearless, and above all, HAVE FUN!”--Julia Child

When my kids were tiny, I was determined to instill the love of cooking in them. They sensed my desperation and showed little interest in the kitchen.  There was the time when I embarked on a handmade gingerbread village with my first three year old.  I was starry-eyed, imagining ours would be perfect, just like the photo in the fancy food magazine.  

OK it was a disaster!  What was I thinking?  Perhaps I should have started with a realistic graham cracker milk carton cabin.

We swore off gingerbread projects for awhile, but eventually each of my daughters has come around to the kitchen and there are no more tears involved.  Now we laugh, even if there’s a mistake. (And we enjoy our coffee table book The Gingerbread Architect ).

One by one, I figured out simple tasks that they could master and followed their lead of interest rather than forcing them.

So we started amassing a collection of kitchen tools that were kid-friendly, if not exactly advertised as ‘for kids.’  Maybe your kids (grandkids, nieces, nephews, neighbors) aren’t quite ready for chopping onions with an 8-inch chef’s knife, but they can stir the onions you chopped as they saute.

They can measure, mix, and mash.  They can also spin salad, grate cheese, peel carrots.   Before you know it, you’ll be having tons of fun in the kitchen with your helper at the ready, and in minutes, all smiles, dinner is on the table.

As Rose, an eight-year old cooking student observed, “A kitchen is a classroom in a cook’s world.”  Math, science, reading, writing, and culture are all covered!  Kids have it all figured out--invite them to the kitchen.

For mess-proof cooking with kids, think BIG.  

Big mixing bowls, even for small jobs, help kids keep their ingredients in the bowl rather than spilling out everywhere.  

Big cutting boards also help contain their mess to a minimum.

Cookbooks with colorful illustrations or step-by-step photos engage kids and give them confidence.  A few favorites:  

Salad People, Pretend Soup, and Honest Pretzels, all by Mollie Katzen 

Rick and Lanie’s Excellent Kitchen Adventures by Rick and Lanie Bayless

Cooking on a Stick by Linda White, for campfire cooking fun

CHOP CHOP: The Kids’ Guide to Cooking Real Food with Your Family by Sally Sampson (also available as a magazine subscription)

Counter Intelligence The Best of April’s Kitchen (Smart, Delicious Recipes from my Family to Yours) by Yours Truly

Tools with comfortable handles are great for kids.  They also love colorful gear--mix and match a rainbow of tools.

Cooking is contagious -- spread the love!


December 10, 2015 /April Hamilton
Easy for kids
Comment
Hummus heats up with a splash of pink

Hummus heats up with a splash of pink

Discover a New Recipe

November 12, 2015 by April Hamilton in In Between

How do you get a room full of kids (and their reluctant cooking teacher) to eat their just-harvested beets? Whirl them into some homemade hummus! When I was invited to cook with a group of students from SCRATCH, a community garden program focusing on youth who bring their farm to the table, I couldn't believe my luck. They arrived with about a bushel of beets which we scrubbed and roasted and then let the food processor do the work of turning our golden hummus into a hot pink discovery. Then it disappeared just as magically. These happy growers are amazing kitchen hands and I can't wait to see what they harvest next. Happy Cooking!

Hot Pink Hummus

We made a double batch of classic hummus, then scooped out half and added the beets to the processor. A couple of swirls of the machine and gold turned to the most amazing pink

  • 2 cloves garlic, peeled
  • 1 (15-ounce) can chick peas, drained and rinsed
  • zest and juice of 1 lemon
  • 1/2 cup boiling water
  • 2 tablespoons olive oil, plus extra for storing
  • 1/2 teaspoon coarse salt
  • 2 small beets, roasted until tender and peeled

PULSE the garlic in a food processor to mince. Add the drained chick peas, lemon zest and juice and boiling water. Blend for 3 minutes, scraping the side of the container after 1 minute. Add the olive oil, salt, and beets and blend until smooth. Transfer to an airtight container and drizzle the top with a bit of olive oil to keep from drying out. Refrigerate for up to 1 week


November 12, 2015 /April Hamilton
fresh, family kitchen, Easy for kids
In Between
Comment

Crazy Good Breakfast Sandwich

October 07, 2015 by April Hamilton in Wide Awake

Mornings can be crazy (we call it Pandemornium sometimes), so add some goodness to the crazy and you're set up for a perfect day. Eggs are a staple at our house. And bread. Our favorite bakery is closed on Sunday and Monday, so a Tuesday bakery run is a must. In case it falls off the to-do list, I try to keep some English muffins in the freezer, just in case.

Yes, I prefer the crusty multi-grain loaves from Charleston Bread, but in a pinch, the darkly toasted muffin is a fine canvas for my bed of arugula and egg over easy--enrobed with habanero jack. Tidy enough to eat in traffic, if necessary, but better at the kitchen table. Set the alarm, brew some coffee. Read the paper. Happy Cooking!

Crazy Good Breakfast Sandwich

2 slices whole grain bread 

1 teaspoon pat of butter

1 egg

Sprinkle of grated pepper jack cheese

Pinch of salt and ground pepper

Handful of fresh greens (I keep arugula and spinach on hand)

Additional goodness of your choosing--roasted bell peppers, tomato slices, avocado

TOAST the bread while you cook your egg.

HEAT a small skillet over medium heat and melt the butter, swirling the skillet to coat.

CRACK the egg into the skillet and sprinkle with salt and pepper.

COOK until the egg white looks set, about 2 minutes. Here comes the fun part...

FLIP the egg over and sprinkle with cheese (As Julia Child says,  "you have to have the courage of your convictions!") You can also flip it the old fashioned way with a spatula.

COOK until the desired degree of doneness, about 1 minute for 'over easy' or a little longer for 'over medium.' Crank up the heat if you like a crispy edge.

PILE some greens onto one slice of toast and slide the egg onto the greens.

TOP with the other slice of toast (or serve open-face if you prefer).

Makes 1, but you can easily make a dozen.


October 07, 2015 /April Hamilton
breakfast, Easy for kids
Wide Awake
Comment

Oven-Fried Chicken Fingers

July 13, 2015 by April Hamilton in Dinner Table

Remember the cornflake-crusted chicken that Mom used to make? It’s worth repeating! As I headed out for a late afternoon cooking class, I suggested to Emma that I’d be home a little late to make dinner, printed off the old recipe, and off I went. I returned a couple of hours later to discover these crispy golden tender chicken bits, hot out of the oven.
Mom’s working, Emma’s cooking, turning hunger into happiness.

Oven-Fried Chicken Fingers

  • 1 pound skinless boneless chicken breast halves
  • 3 tablespoons butter, melted
  • 1/2  teaspoon coarse salt
  • 1/4 teaspoon black pepper
  • 3 cups cornflakes, coarsely crushed

PREHEAT oven to 425°F.

LINE a rimmed baking sheet with parchment paper or foil.

POUND chicken between sheets of plastic wrap with flat side of a meat pounder or with a rolling pin into uniform thickness.

CUT chicken lengthwise into 1/2-inch-wide strips.

COMBINE butter, salt, and pepper in a shallow dish.

PLACE cornflakes in another shallow dish.

DIP chicken in butter, then dredge in cornflakes, pressing flakes firmly to help adhere.

TRANSFER as coated to baking sheet.

BAKE until chicken is golden and cooked through, about 15 minutes.

COOL chicken on the baking sheet on cooling rack 5 minutes.

SERVE immediately, with your choice of dips

July 13, 2015 /April Hamilton
Easy for kids
Dinner Table
Comment

real. good. food.