Pizza Night in the Comfort of your Kitchen
A bulky but rather lightweight package arrived at my kitchen door. It was addressed to me, strangely enough. The sender label read ‘Primal Kitchen’ and I ripped open the box to reveal its contents--a gorgeous walnut pizza peel and a note from my daughter in college:
“Happy very late Mother’s Day and kind of late Father’s Day! I hope you have plenty of patio pizza parties and I can’t wait to get in on them when I get home.” Of course I cried as I read the note aloud and we all reminisced about our tasty family tradition, pizza night at home.
At our house, it’s an all hands on deck affair. I make the dough and everyone jumps in making sauce, grating cheeses, and prepping the toppings. For years, this happened like clockwork every Friday night. Neighbors joined in on the fun and we have experimented with every possible topping combination, working lots of fresh veggies into the mix.
As our kids have gotten older, the frequency of this fun tradition has fallen off, though we pull it instantly back into the rotation whenever the mood strikes. It’s heartwarming to know that my faraway college student is eager to come home and rekindle the family pizza custom. I urge you not to delay, start a pizza tradition at your home today!
A few tips for successful pizza night
- heat pizza stone at 500 on the bottom rack of the oven.
- lightly coat a pizza peel or a rimless baking sheet with cornmeal--stretch your dough on top of the cornmeal, then top the pizza. Carefully slide the pizza off the peel or baking sheet and onto the hot stone (always check to see that the pizza hasn’t glued itself to the pizza peel before attempting to launch it onto the stone. Give a gentle shake of the peel--if the pizza seems to be stuck in any place, carefully lift up the dough and sprinkle a little more cornmeal on the peel)
- dough can be baked on a pizza pan or cookie sheet if you don’t have a stone; first lightly oil the sheet before laying down the dough.
Pizza Dough
This dough can be made in a Kitchenaid mixer with a dough hook, but the food processor works well for a single batch of dough. This makes enough for 3 large pizzas If making a double batchfor a pizza party! you will need to use the Kitchenaid. -- if you want to start off slow, you can chill the remaining dough balls for up to 2 days, or freeze them, well wrapped, for 2 months.
- 1 teaspoon Instant Yeast (also called "rapid rise")
- 3 cups bread flour
- 1 1/2 teaspoons coarse salt
- 1 to 1 1/4 cups water
- 2 tablespoons olive oil
- additional olive oil for bowl for rising, and for handling dough
COMBINE yeast, flour, and salt in the container of a food processor and pulse a few times to blend. Turn the machine on and add 1 cup water and 2 Tablespoons olive oil through the feed tube. Process for about 1 minute, adding more water 1 tablespoon at a time, until the mixtureforms a ball and is slightly sticky to the touch. If it is dry, add another tablespoon of water and process for 10 more seconds. If the dough is too sticky, add flour a tablespoon at a time. You want the dough to just barely stick to your fingertip.
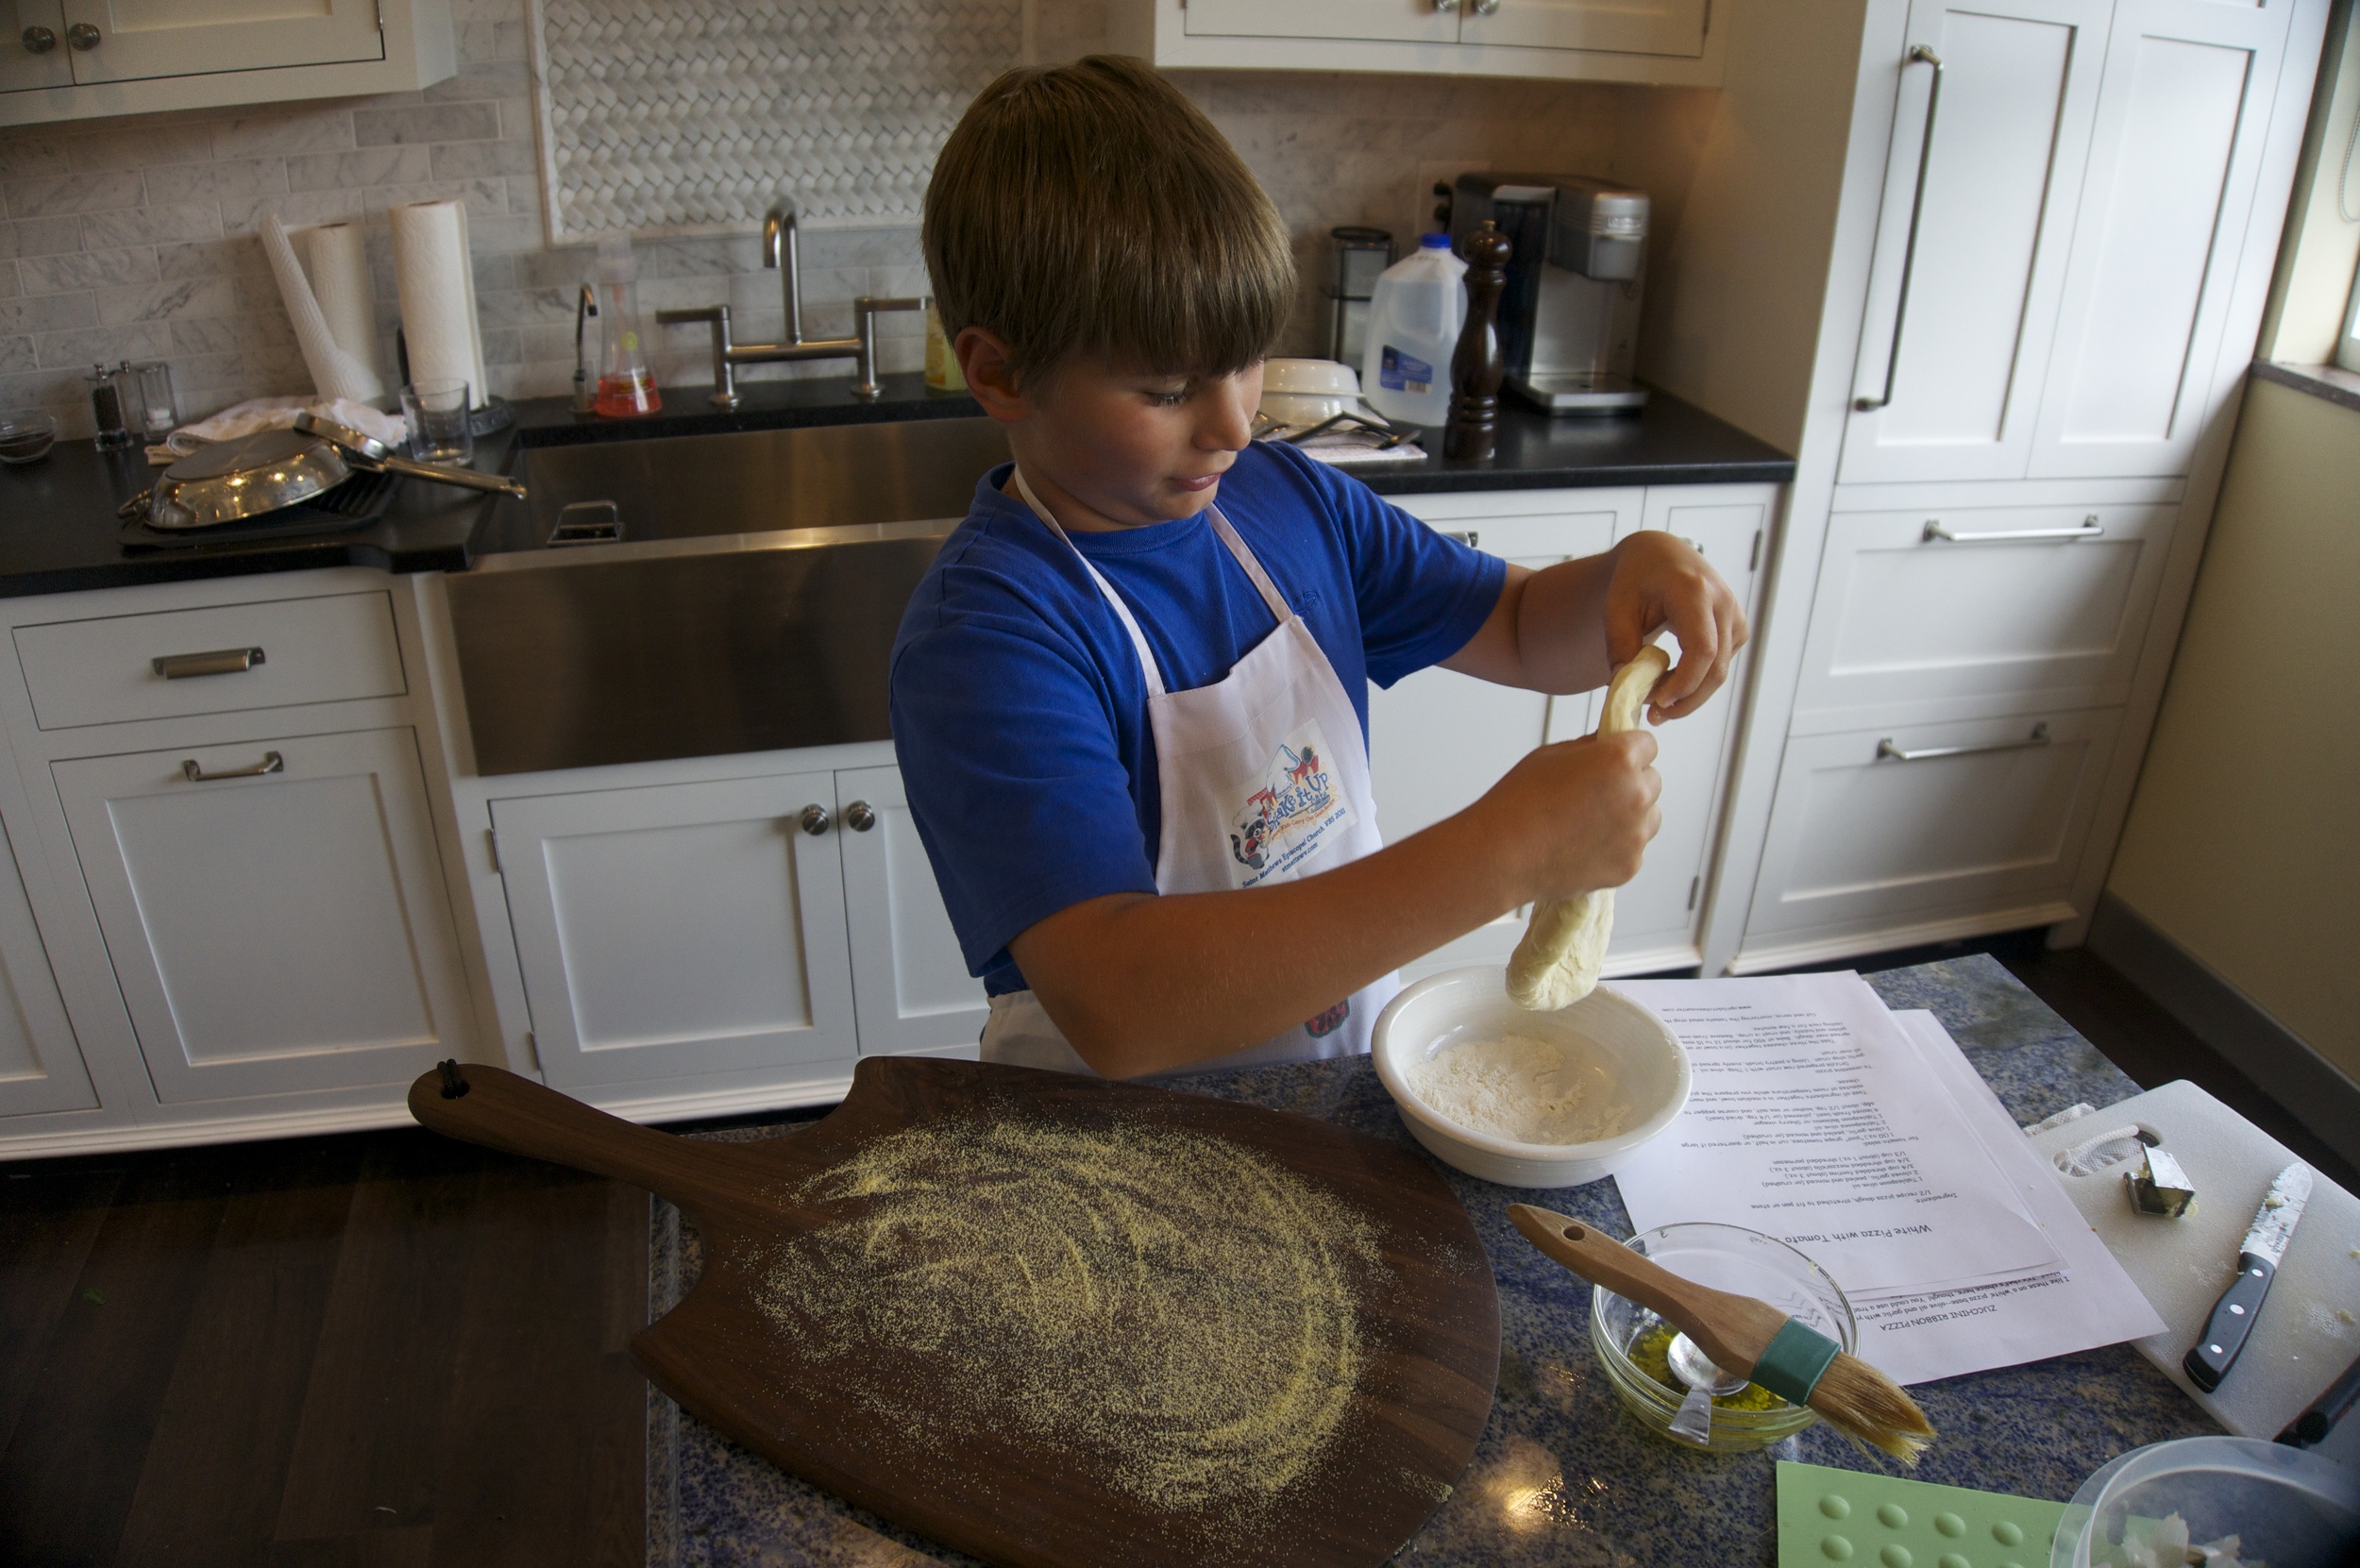
KNEAD the dough with lightly oiled hands for a few seconds to form a smooth round ball. Divide the dough into 3 balls. Brush a baking dish with a drizzle of olive oil and place the dough balls in it. Gently roll the dough around so that each ball is lightly coated with oil and will not dry out. Place the balls apart so they have room to rise.
Cover the dish with plastic wrap and let rise in a warm draft-free area until the dough doubles in size, usually about 1 hour (aha! the time it takes to make sauce, toppings, and get the oven preheated) .The dough can rise slowly in the refrigerator for 6-8 hours, if that is more convenient. Let the chilled dough sit at room temperature for a few minutes before shaping.

Color is king when it comes to fabulous pizzas -- this one with Roma tomatoes, red onion, and asparagus.
Quick Pizza Sauce
I like to keep this sauce on hand to make English muffin pizzas for quick after-school snacks. It can also be tossed with hot pasta as an easy marinara
- 2 cups canned diced tomato (I like to use Muir Glen crushed tomato)
- 1 Tablespoon Olive oil
- 2 cloves garlic crushed
- 1/2 teaspoon dried oregano
- salt and pepper to taste
Combine all ingredients in a small mixing bowl. (Quick!)Refrigerate leftovers for up to a week.
Spinach and Garlic Pizza
This is a family favorite! When we moved from Houston, we craved the pizzas that we fell in love with at STAR Pizza. I called them for their recipe for “Joe’s Pizza” and they wouldn’t share, so here’s our version. Really the BEST part about pizza night is everyone jumping in with topping ideas -- have fun creating your own favorites.
Start with a ball of dough and some quick pizza sauce, top with
- 6 ounces shredded mozzarella cheese (or fontina) and can be supplemented with asiago, parmesan or feta
For sautéed spinach and garlic:
- 2 tablespoons olive oil
- 6 cloves garlic, very thinly sliced
- 5 ounce bag fresh ‘baby’ spinach
- salt and pepper
HEAT oil and garlic in large skillet over low heat until oil begins to shimmer and stir a few minutes until garlic gently sizzles. When garlic is almost tender, add spinach to skillet a handful at a time, and add 1/2 teaspoon salt, stirring to evenly wilt spinach. Remove from heat and season with pepper.
SPREAD pizza dough. Spoon about 1/2 cup of pizza sauce over dough. Sprinkle cheese over sauce. Distribute sautéed spinach and garlic over the top. Bake ina very hot oven (preheated to 500) for 10-15 minutes.